Using Cloudflare WARP to protect laptops on the run
By Alex Norman —
Many startups and small businesses these days are going the remote-first route. Mostly because office space is expensive, high quality mobile and home internet is available and cheap, and it gives growing companies access to a global talent pool. It benefits both companies and employees.
One of the risks of being fully remote, however, is that your company’s data is effectively everywhere. There’s no longer a central file server in a secured office protected by a beefy firewall and loads of air conditioning. As a result, security measures have to run closer to the user, built into their devices and the cloud services they use.
In this article, we’ll show you how to use Cloudflare’s WARP agent and their Zero Trust set of tools to help protect your laptops when they access the internet.
We honestly do not have any affiliation with Cloudflare, so there’s no kickback for writing this. We just want to pass on information that we have found to be super useful in our startup, for improving security and data hygiene.
WARP is a combination of a DNS resolver hosted by Cloudflare and a local agent that aims to provide a safer internet experience by blocking malicious websites and keeping your DNS lookups private.
The best part is that it’s free to use for teams with less than 50 people. Yup. Free. You can even use it free for personal use without an account using their their default security features.

While antivirus products are most commonly used to protect laptops, they don’t always do a good job of protecting how you browse the internet. Some come with invasive browser plugins, and overall, they’re not very effective.
What sets Cloudflare apart from a technical standpoint is that:
- all your DNS queries are encrypted in transit to Cloudflare and being resolved by them.
- your first hop for connecting to the internet is encrypted in transit to Cloudflare using a WireGuard implementation called Boringtun to prevent ‘man in the middle’ attacks from dodgy public Wi-Fi.
- DNS lookups will use Cloudflare’s anti-malware resolvers.
- Other fun advanced features such as VPN-like proxying to private networks, basic device management and SAML threat rules.
Convinced? Then follow the guide below to get started with Cloudflare.
- Go to Cloudflare and set up an account.
- Select Explore all products.
- Select Zero Trust on the left.
- Enter in a team name.
- Select the free plan.
- Proceed to payment. No you won’t pay, but you do need to enter details.
- Enter credit card information. You won’t be charged. They just want to have payment details on record if you exceed free limits or want to add other products. I guess it also deters bots and time wasters.
You should arrive at the Zero Trust dashboard.
Setting up a policy lets you filter out selected content categories. There’s a long list of types from malware domains to news sites.
- In your Zero Trust dashboard, expand Gateway and select Firewall Policies.
- Select Create a DNS Policy.
- Name it Block Malware.
- Under Traffic, make the following selections:
- Selector - Security Categories
- Operator - in
- Value - Select the categories you want to block, for example Malware and Phishing
- Action - Block.
- Select Create Policy.
- Ignore the error about policies being inactive as we’ll enroll a device later.

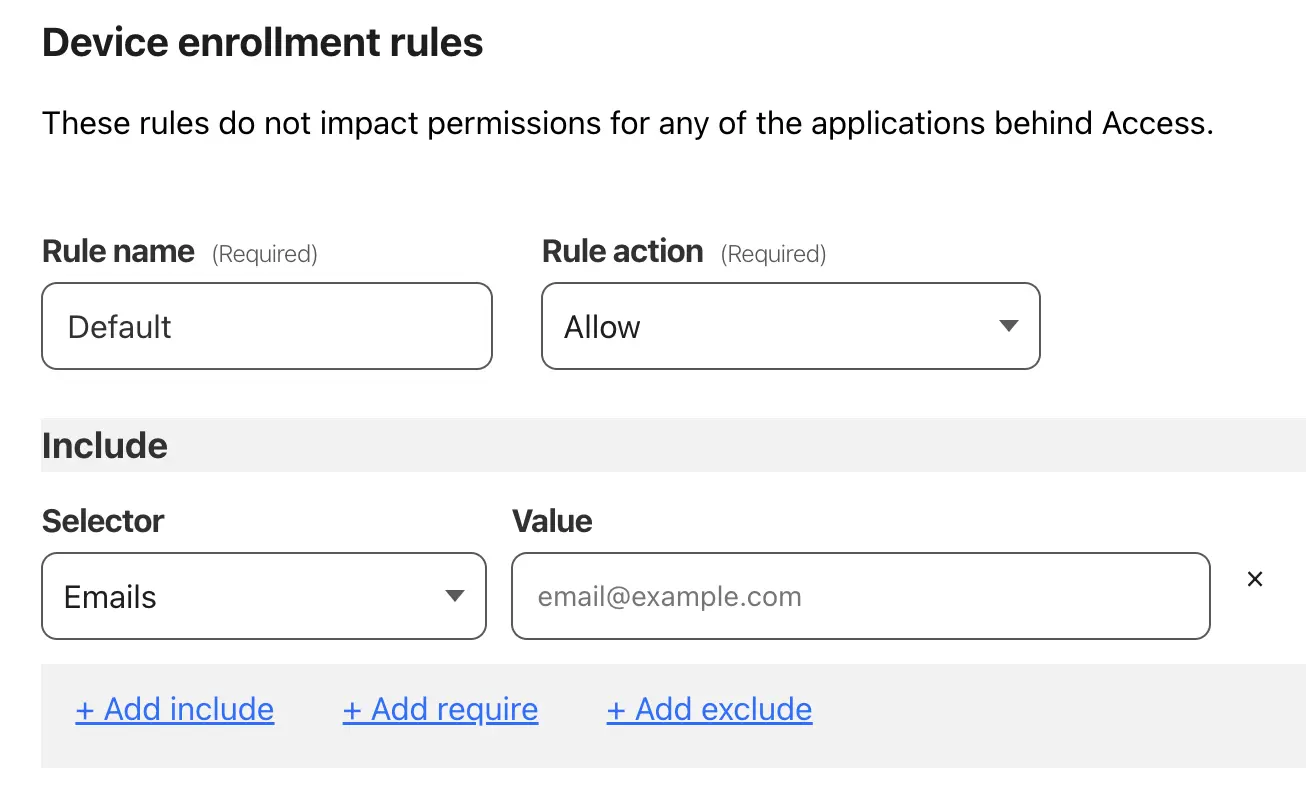
A device enrollment policy restricts which users are allowed to connect to your Zero Trust account when installing the WARP client. The policy ensures that the settings you apply are only applied to your co-workers, friends, or whoever else you add to the account.
- In your dashboard, go to Settings and then WARP client.
- Select Manage next to Device enrollment permissions.
- Under Rules, select Add a Rule and input as follows:
- Rule name - Default
- Rule Action - Allow
- Selector - Emails
- Value - Your email address
- Select Save.
The WARP client is where a lot of the magic happens. This will ensure that your connection is securely routed through Cloudflare and syncs down the necessary policy settings.
-
Go to the Cloudflare developers site and download the appropriate WARP client for your OS.
-
Install the client.
-
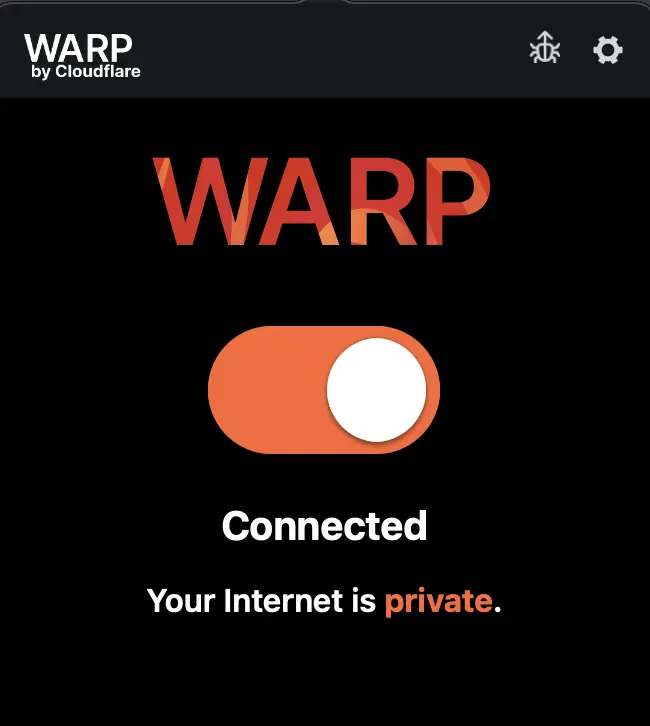
When completed, click on the WARP icon in the taskbar and move the slider to the right to turn on.
In this mode, all your DNS lookups and web traffic are being routed through Cloudflare. Their DNS resolver 1.1.1.1 is known for speed, privacy, and anti-malware protections. We’re going to take it a step further by registering this agent with our recently created account.
-
To register an account:
- Click on the cog at the top right and go to Preferences.
- Select the Account tab and click Log into Cloudflare Zero Trust.
- Enter the team name you selected earlier.
- Review their privacy statements.
- A new browser window will open up.
- Enter your email address (this is the same one we added to that Device Enrollment Policy earlier too). A one-time passcode is sent to your email.
- Click Open Cloudflare WARP.
Now the colors will change to this relaxing blue-purple hue.
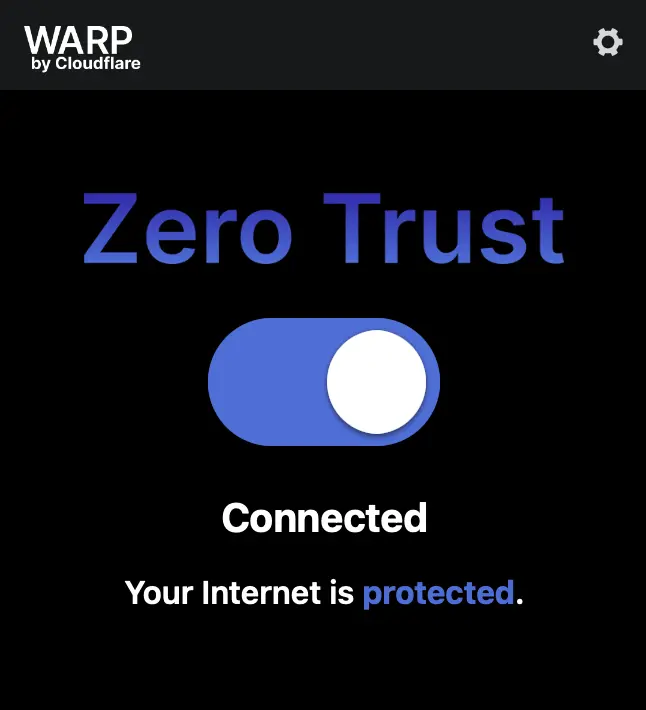
Your laptop is now using Cloudflare’s secure DNS and your internet connection is being protected from known malicious websites. You can add and remove categories such as Cryptomining and Spyware from the DNS policies based on what you think is a risk to your team.
Hopefully this guide was easy enough to follow and that it will provide some value in providing a bit more security to your team’s remote habits.
There’s a LOT to play around with in the Zero Trust dashboard, so you can do your own exploring to tune it to suit your team’s needs. Here’s a few things to play around with.
By default, all the DNS lookups are logged and retained for 24 hours, which might be a bit privacy intrusive.
Go to Settings and Network to adjust what gets logged.

You can offload the authentication to an identity provider like Google Workspace, Office 365, or even Kinde. That’s not a typo. Kinde supports the OpenID authentication method if you want to manage the user auth with a Kinde business. By default, Cloudflare sends the one time passcode to your email, but this can be changed to a wide variety of authentication providers.
Go to Settings and Authentication.
You can customize and adjust what settings the WARP client will have once it’s been installed and linked to your team. Options include whether a firewall is enabled or a certain application is installed. This can help ensure that everyone has consistent and secure baseline that work well with your systems from the start.
Go to Settings, WARP Client, and then edit the Default profile.
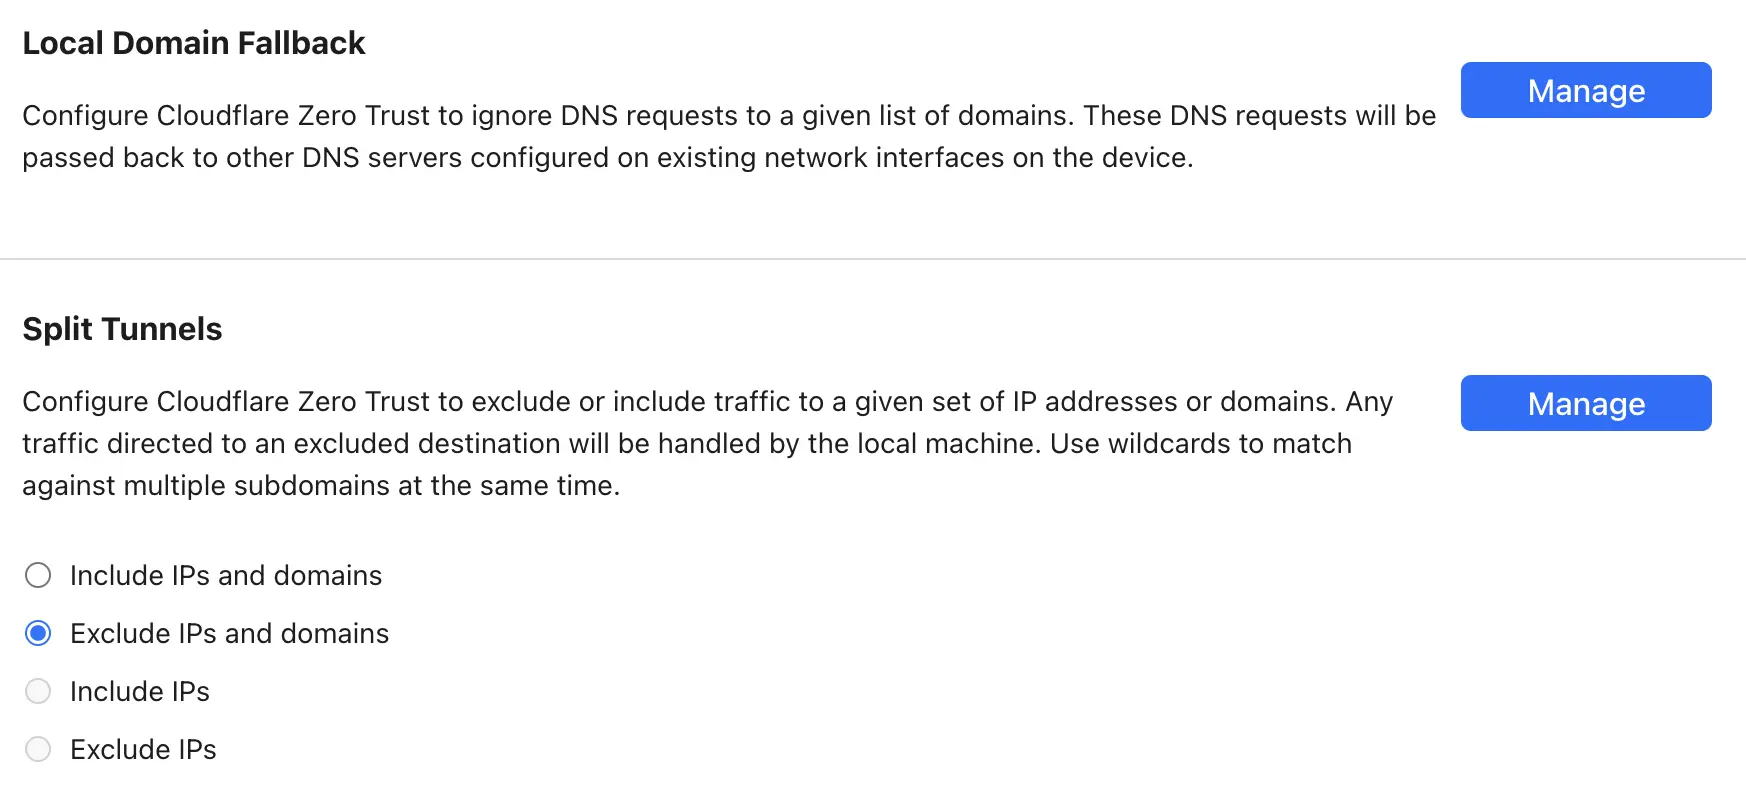
Since the WARP client is sending all your network traffic via Cloudflare, you may run into some issues with local services or websites that block Cloudflare. These can be allowlisted to help smooth things.
Go to Settings, WARP Client, then edit the Default profile, and then adjust the Split Tunnel settings.
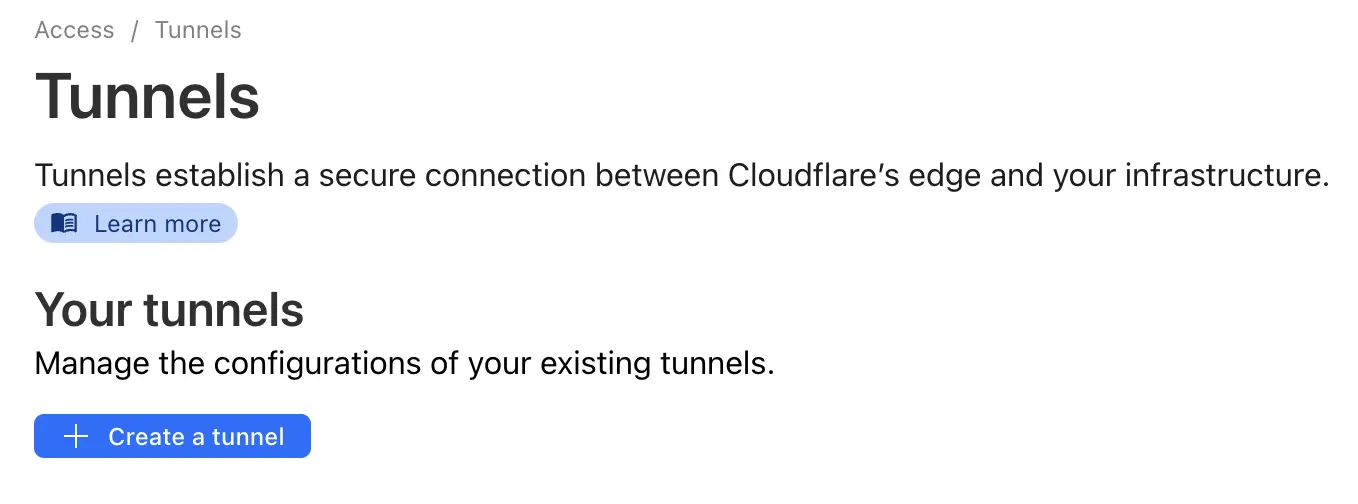
If you run your production services in a public cloud like AWS, you may be exposing SSH or some other admin interfaces over the public internet. You can prevent some of this by using a Cloudflare tunnel server inside your AWS VPC. Using the Zero Trust trickery, you can configure a Firewall Policy and Split Tunnel, which allows any system that has an authenticated WARP client installed to connect into a network that is accessible by the tunnel service.
It’s basically a VPN into your public cloud network. The rules are extremely flexible and can be secured in a number of ways, such as restricting access to certain IPs, email restrictions, access lists based on groups of users, local device checks, and geolocation.
A prime example is if you have an internal website for managing something in your product that you don’t want to expose to the public internet. Publish it in Zero Trust and only allow team members with an authenticated WARP client to connect to it. A very cool feature.
