Securing AWS AppSync with Kinde
By Raihaan Raman —
Kinde is an OAuth2-compliant Identity Provider (IdP) and as such, any service or system that supports validating a JSON Web Token (JWT) can technically be used to authorize access with Kinde.
AWS AppSync is a serverless GraphQL service that allows users to expose a GraphQL compliant endpoint to various data sources in their AWS account.
Getting the AppSync service to validate a JWT from Kinde is very simple. First, we setup the required configurations in the AppSync service, then we can get a token from Kinde and use it to call the AppSync endpoint.
-
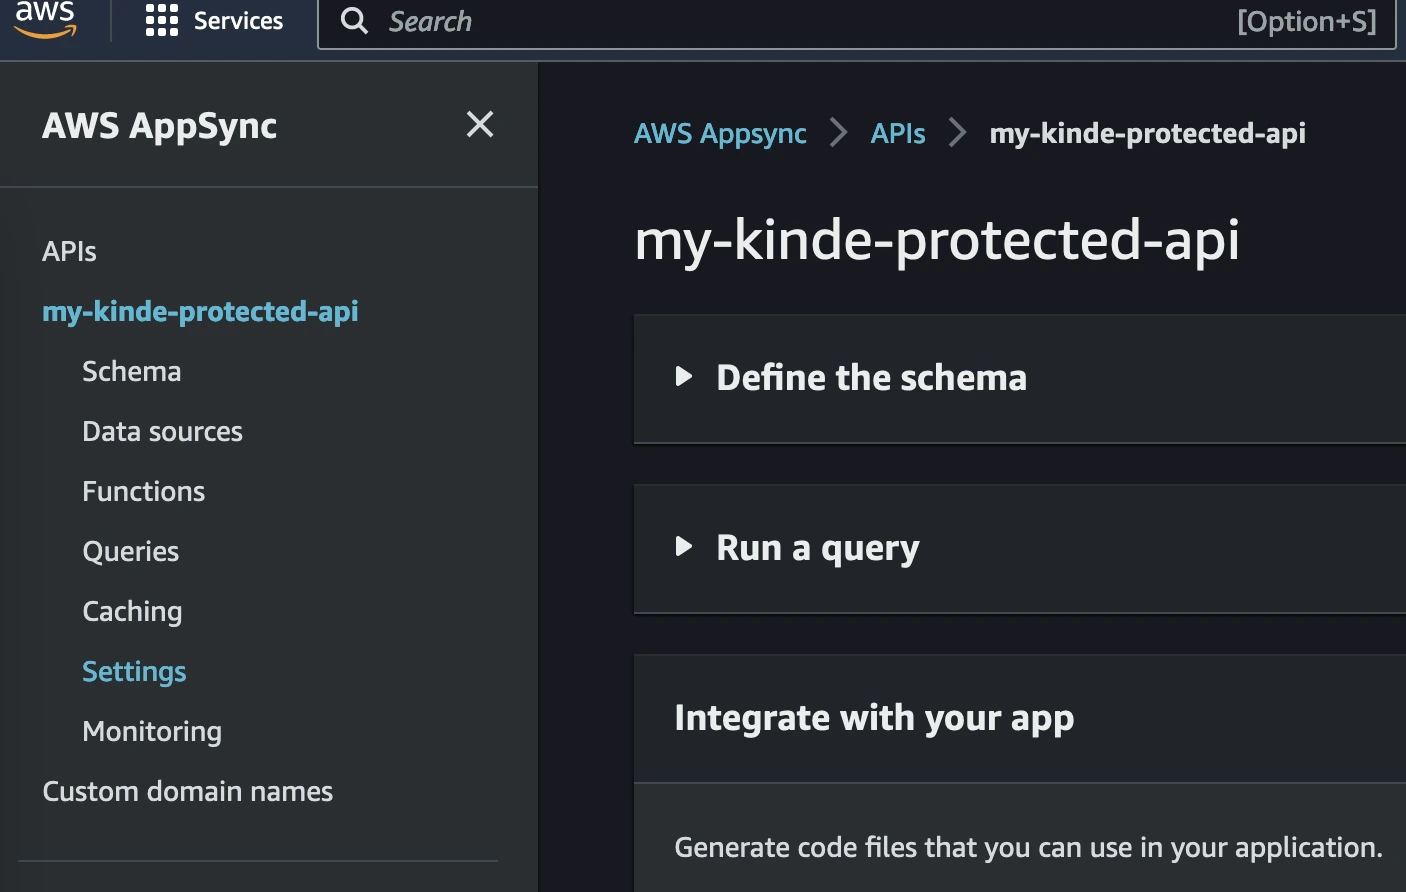
After you have created your API, click Settings in the left-hand menu.
-
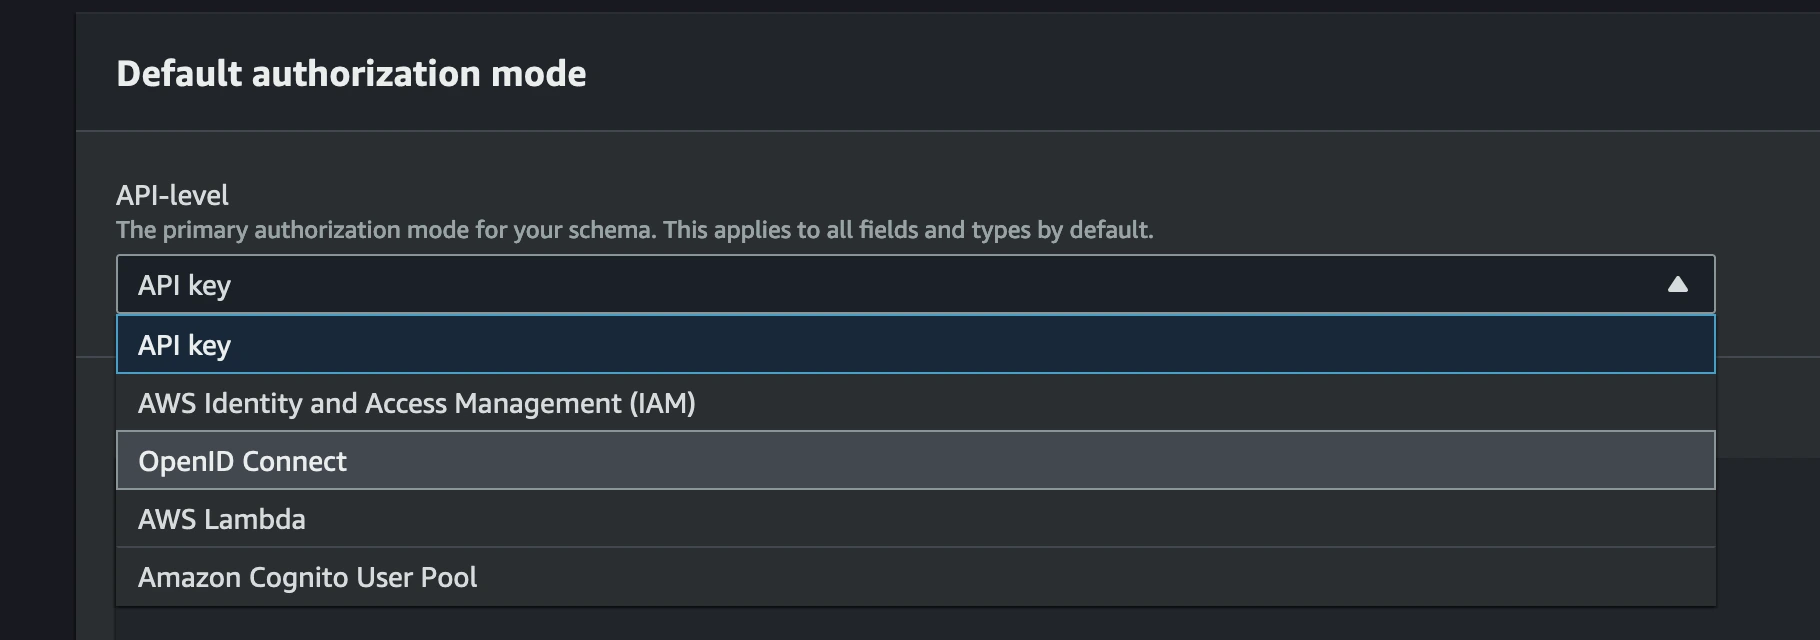
Under the Default authorization mode section, in the API-level drop-down, select OpenID Connect.
-
Enter your Kinde business URL in the Issuer URL field, and leave all other values empty.

-
At the bottom of the screen, click Save. Your AppSync endpoint is now expecting a valid JWT from Kinde before allowing the GraphQL queries to execute.
-
If you use Infrastructure as Code, here’s a partial CloudFormation template snippet that you can use that will deploy the AppSync API endpoint, protected by Kinde.
KindeProtectedApi:
    Type: AWS::AppSync::GraphQLApi
    Properties:
        AuthenticationType: OPENID_CONNECT
        Name: my-kinde-protected-api
        OpenIDConnectConfig:
            Issuer: https://mykindesubdomain.kinde.com

KindeProtectedSchema:
    Type: AWS::AppSync::GraphQLSchema
    Properties:
        ApiId: !GetAtt KindeProtectedApi.ApiId
        Definition: |

            type Person {
                id: String
                title: String
                first_name: String
                last_name: String
            }

            type Queries {
                mySuperQuery: Person
            }

            schema {
                query: Queries
            }
To test that the AppSync endpoint requires a valid token provided by Kinde, we must first log in and generate a token. We’ll use Postman to help, however, let’s configure a few things in Kinde first.
-
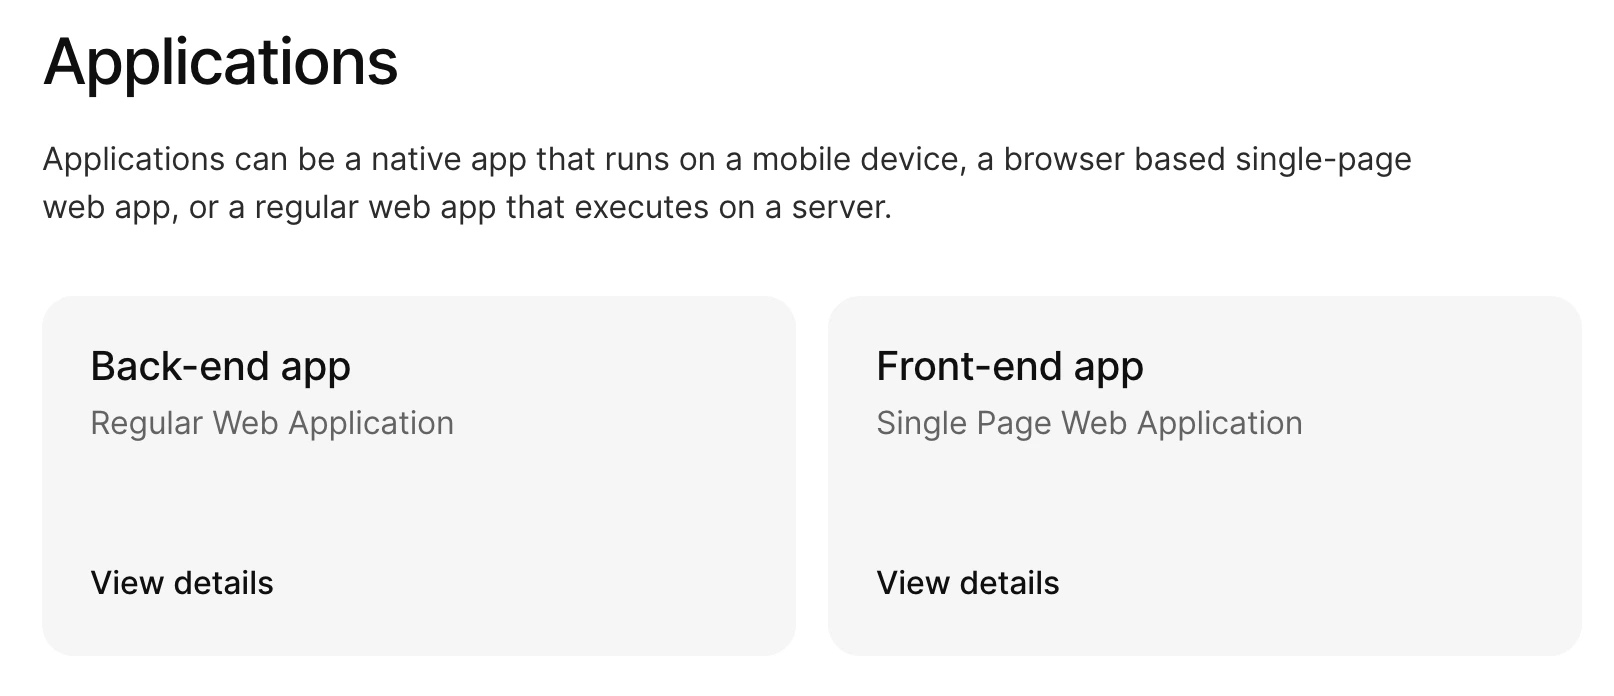
In the Kinde admin portal, go to Settings > Applications. There’s a default application called Front-end app.
-
Click View details on the Front-end app tile.
-
In the Callback URLs section, ensure that the Allowed callback URLs include:
https://oauth.pstmn.io/v1/callback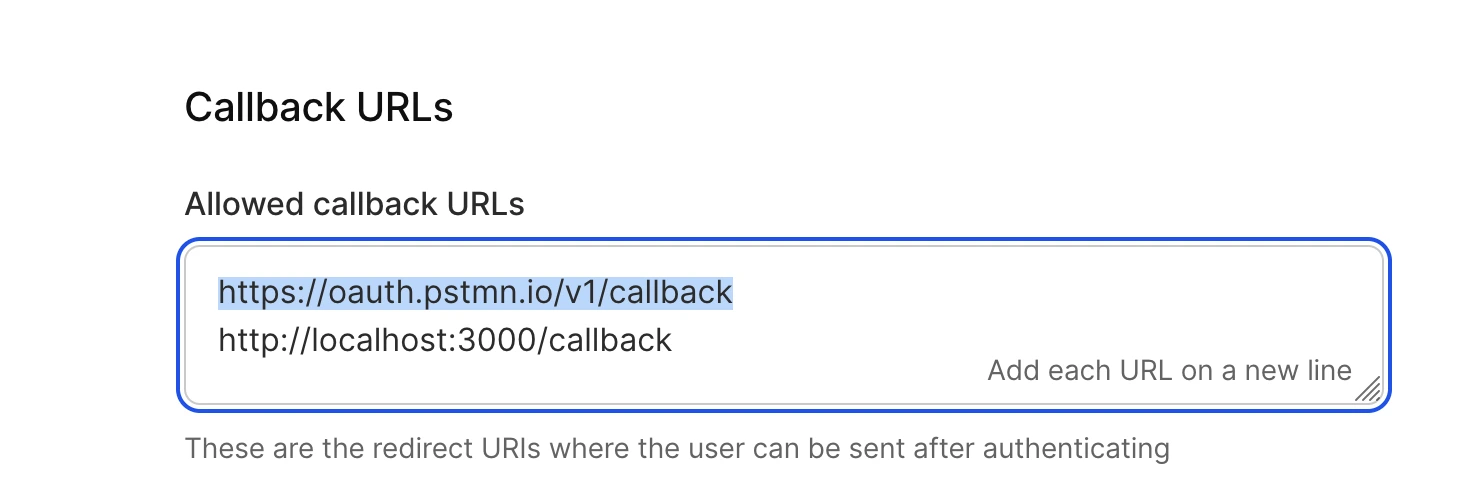
-
Click Save.
-
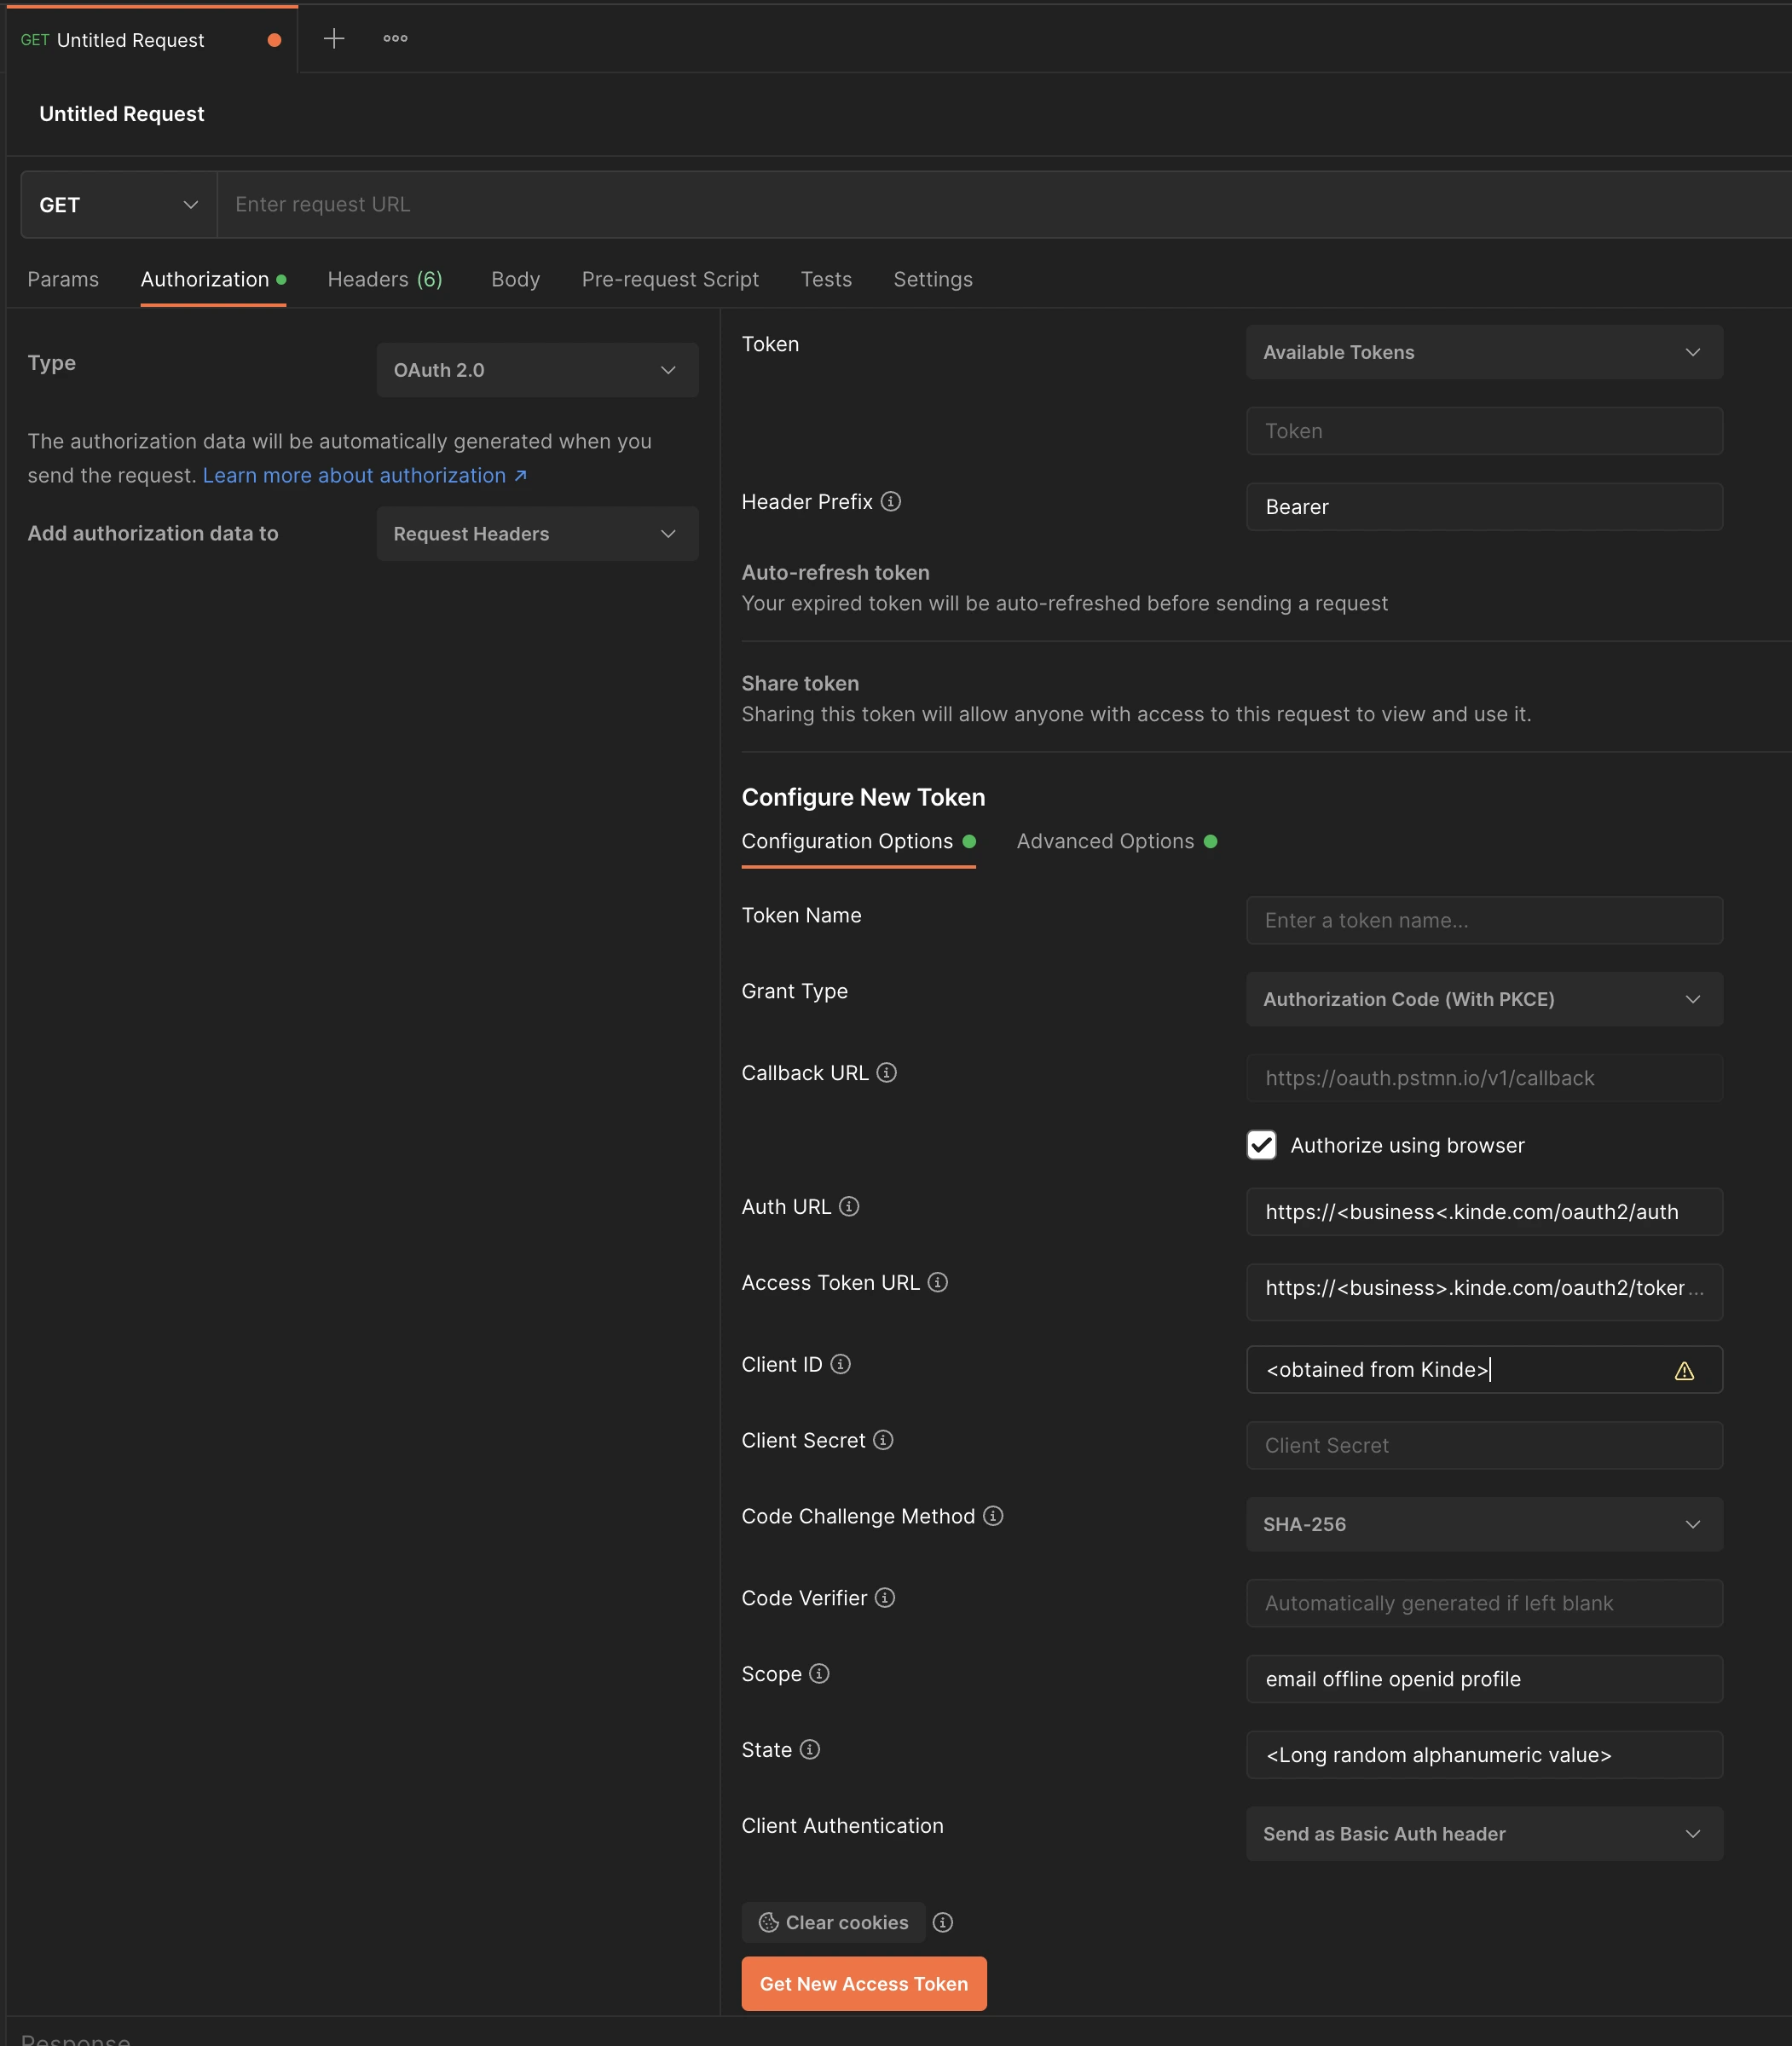
Go to Postman and click the Authorization tab. We need to configure the following fields.
-
In left-hand panel, ensure Type is set to OAuth 2.0.
-
In the right-hand panel, set the following:
-
Set Grant Type to Authorization Code (With PKCE).
-
Ensure the Authorize using browser checkbox is ticked.
-
For the Auth URL, enter
https://<mykindesubdomain>.kinde.com/oauth2/auth, replacingwith your actual Kinde subdomain name. You can find this subdomain name in the front-end application. 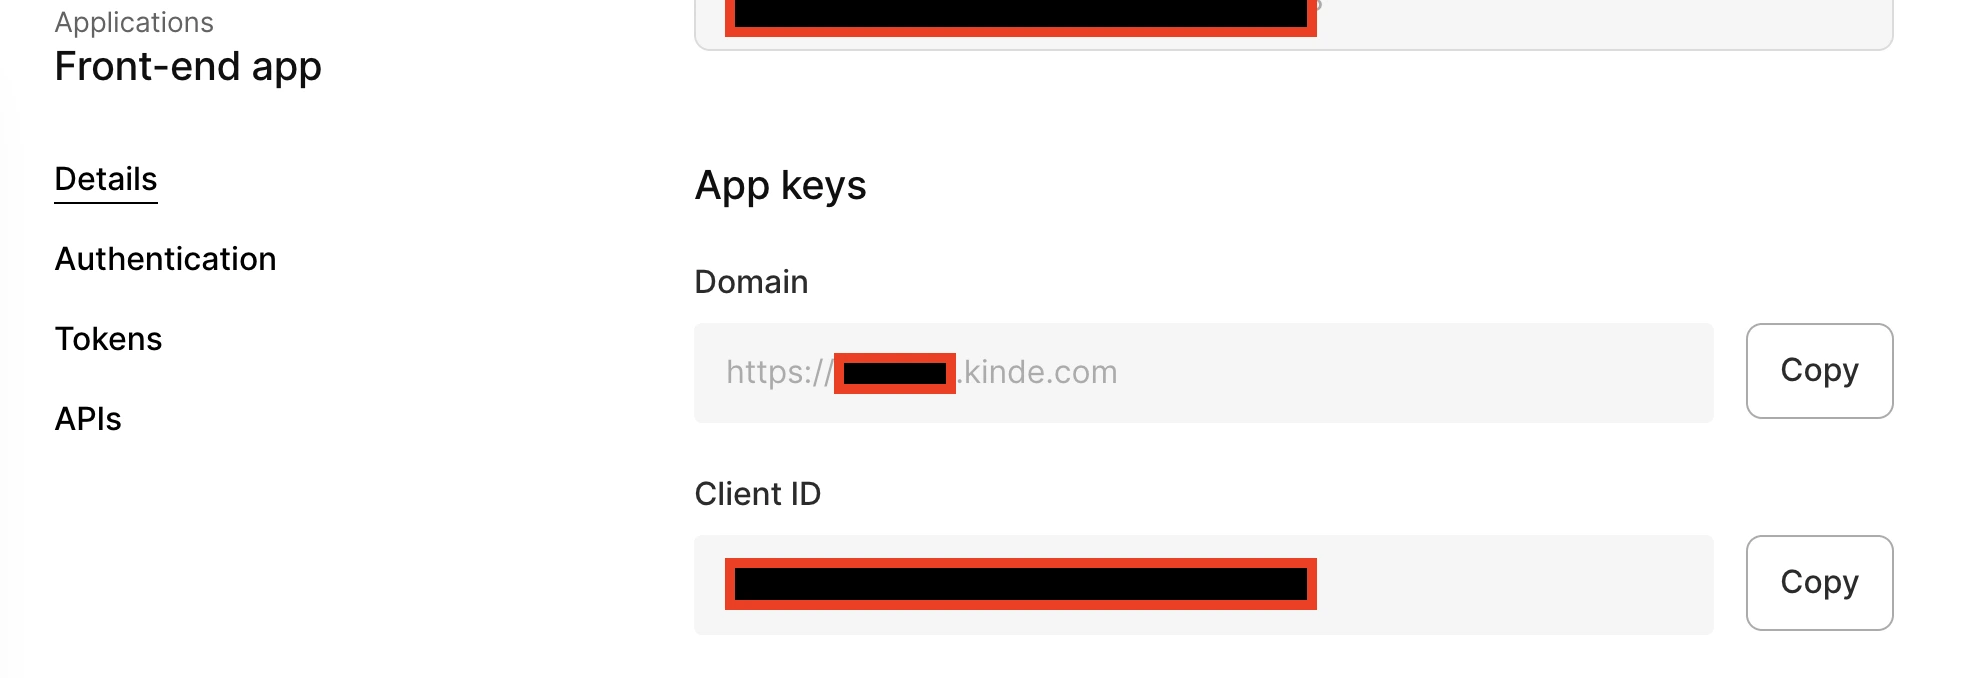
-
For the Access Token URL, enter
https://<mykindesubdomain>.kinde.com/oauth2/token, replacingwith your actual Kinde subdomain name. You can find this subdomain name in the front-end application. -
For the Client ID, enter the front-end application Client ID, which you can also find from the application settings in Kinde.
-
For Scope, enter
email offline openid profile(including the spaces) -
For State, enter a long random alphanumeric value, e.g.
18798basfe90unowf9w3naf9nafgsadf
-
-
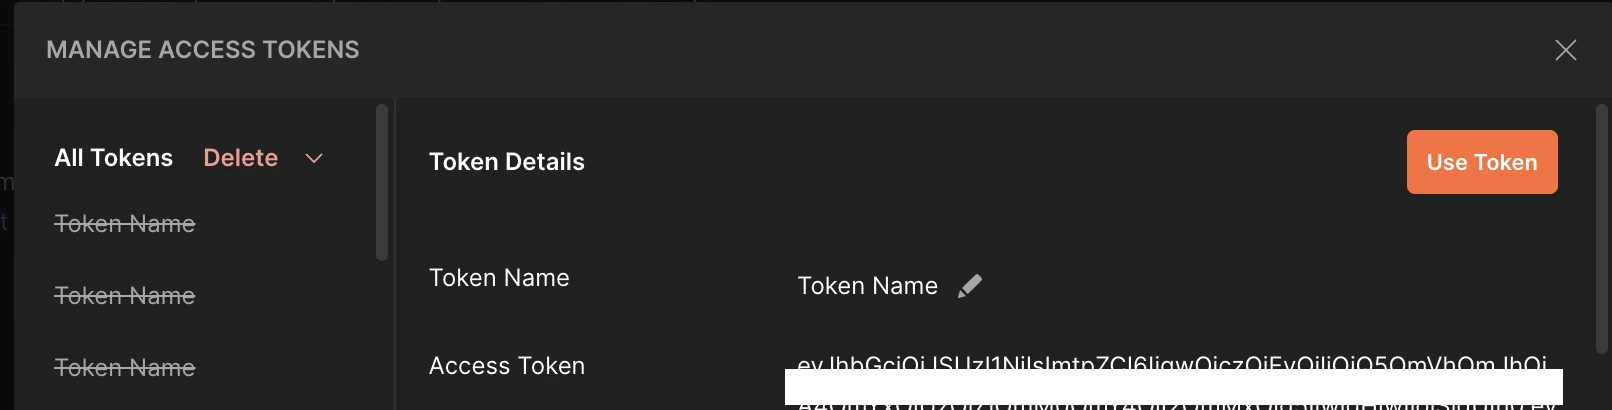
Once all the fields are completed, click Get New Access Token to get a new token. You will be presented with a screen similar to this:
-
Copy the Access Token value, and navigate to the AppSync console in AWS.
-
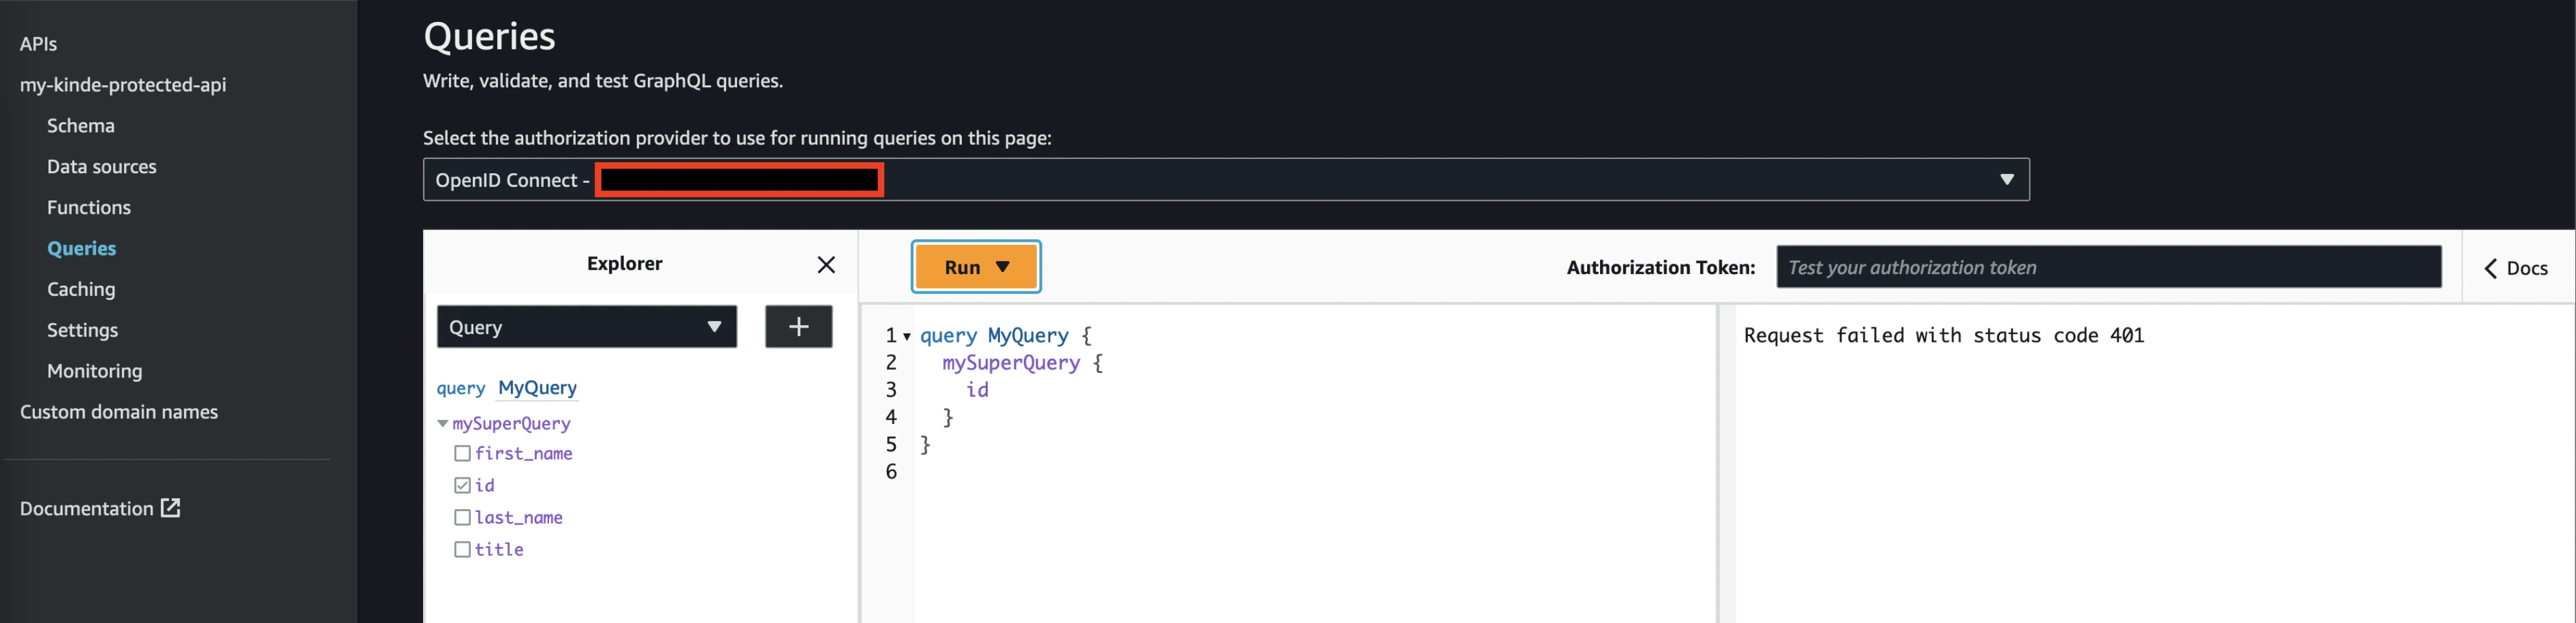
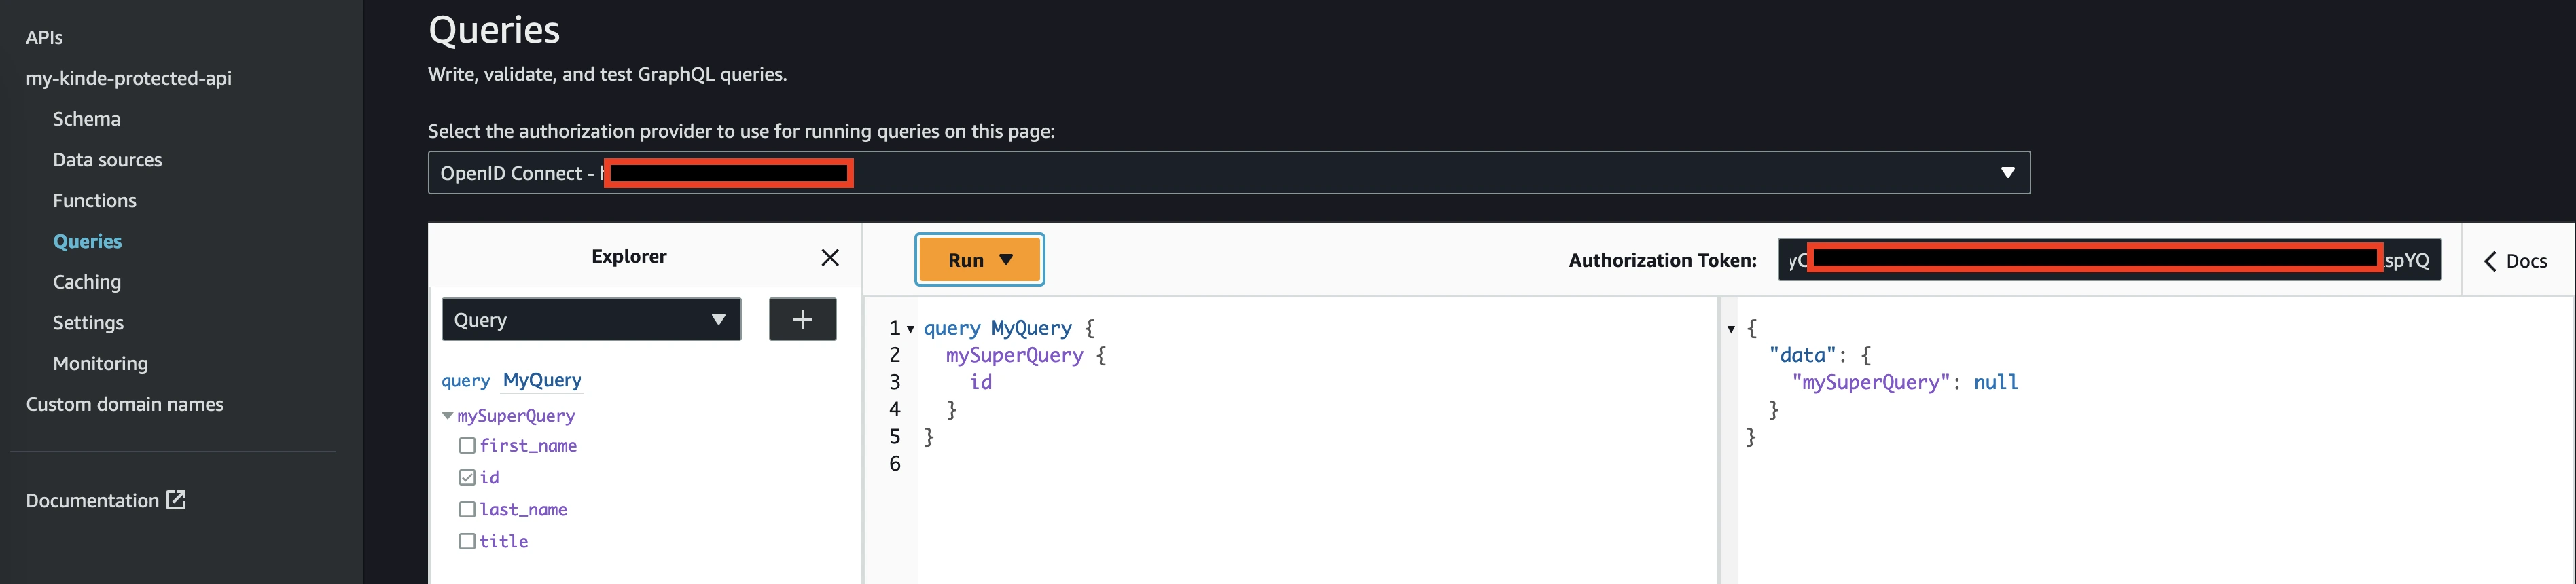
Click Queries in the left hand menu. You should see a screen similar to the below. If you leave the Authorization Token field blank, and click Run, you will get a failed request (with status code of 401).
-
Paste the access token obtained from step 9 in the Authorization Token field, then press Run again. You should now see that the AppSync query was executed. Note that it will return no data, since we didn’t setup a data source.
-
Now that you have a protected API, the next step is to setup a data source to back your AppSync query.
This will have hopefully given you an indication of how easy it is to use Kinde for your authorization needs. Protecting your AppSync APIs has never been simpler!