Deploy a Kinde app on Netlify
By Vlad Ionash —
Netlify is a cloud platform which enables seamless deployment directly from a GitHub repository, offering scalability, performance, and security. You can use it to streamline the development and deployment process of applications in a coherent and easy to manage way.
Let’s launch a Kinde App in it!
- A Netlify account
- A GitHub account - You can use third-party GitHub sources, but this tutorial will focus on using GitHub
- A running application that uses Kinde OR a starter kit such as the Next.js starter kit to test it out
- Find the starter kit you want to use.
- Select Use this template, then Create a new repository. Alternatively, you can clone the repo to your GitHub account.
- Enter a name and take note of it.
- Inside the directory, find the file called
.env.local.sample. You will need this later.
-
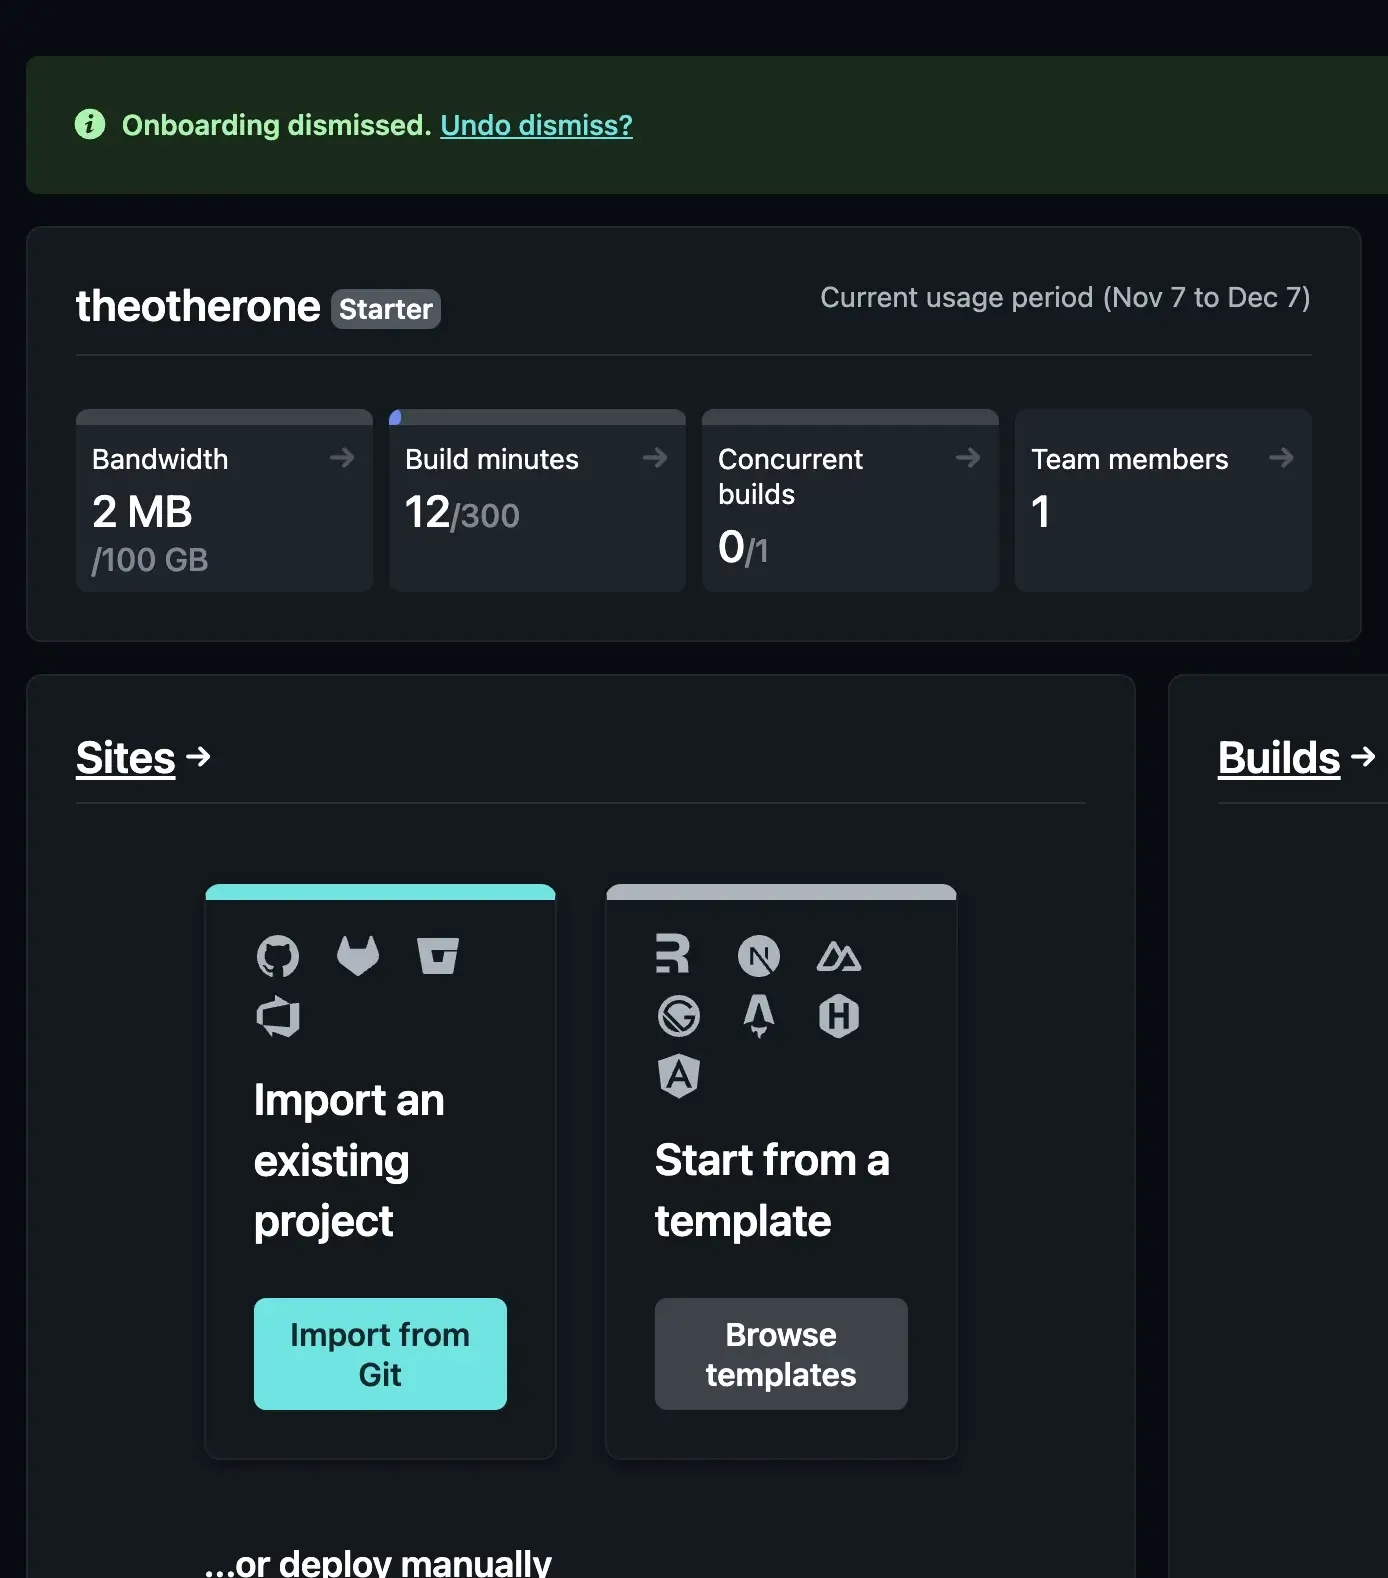
Sign in to Netlify. You should be greeted with the Overview Page.
-
Select Import from Git.
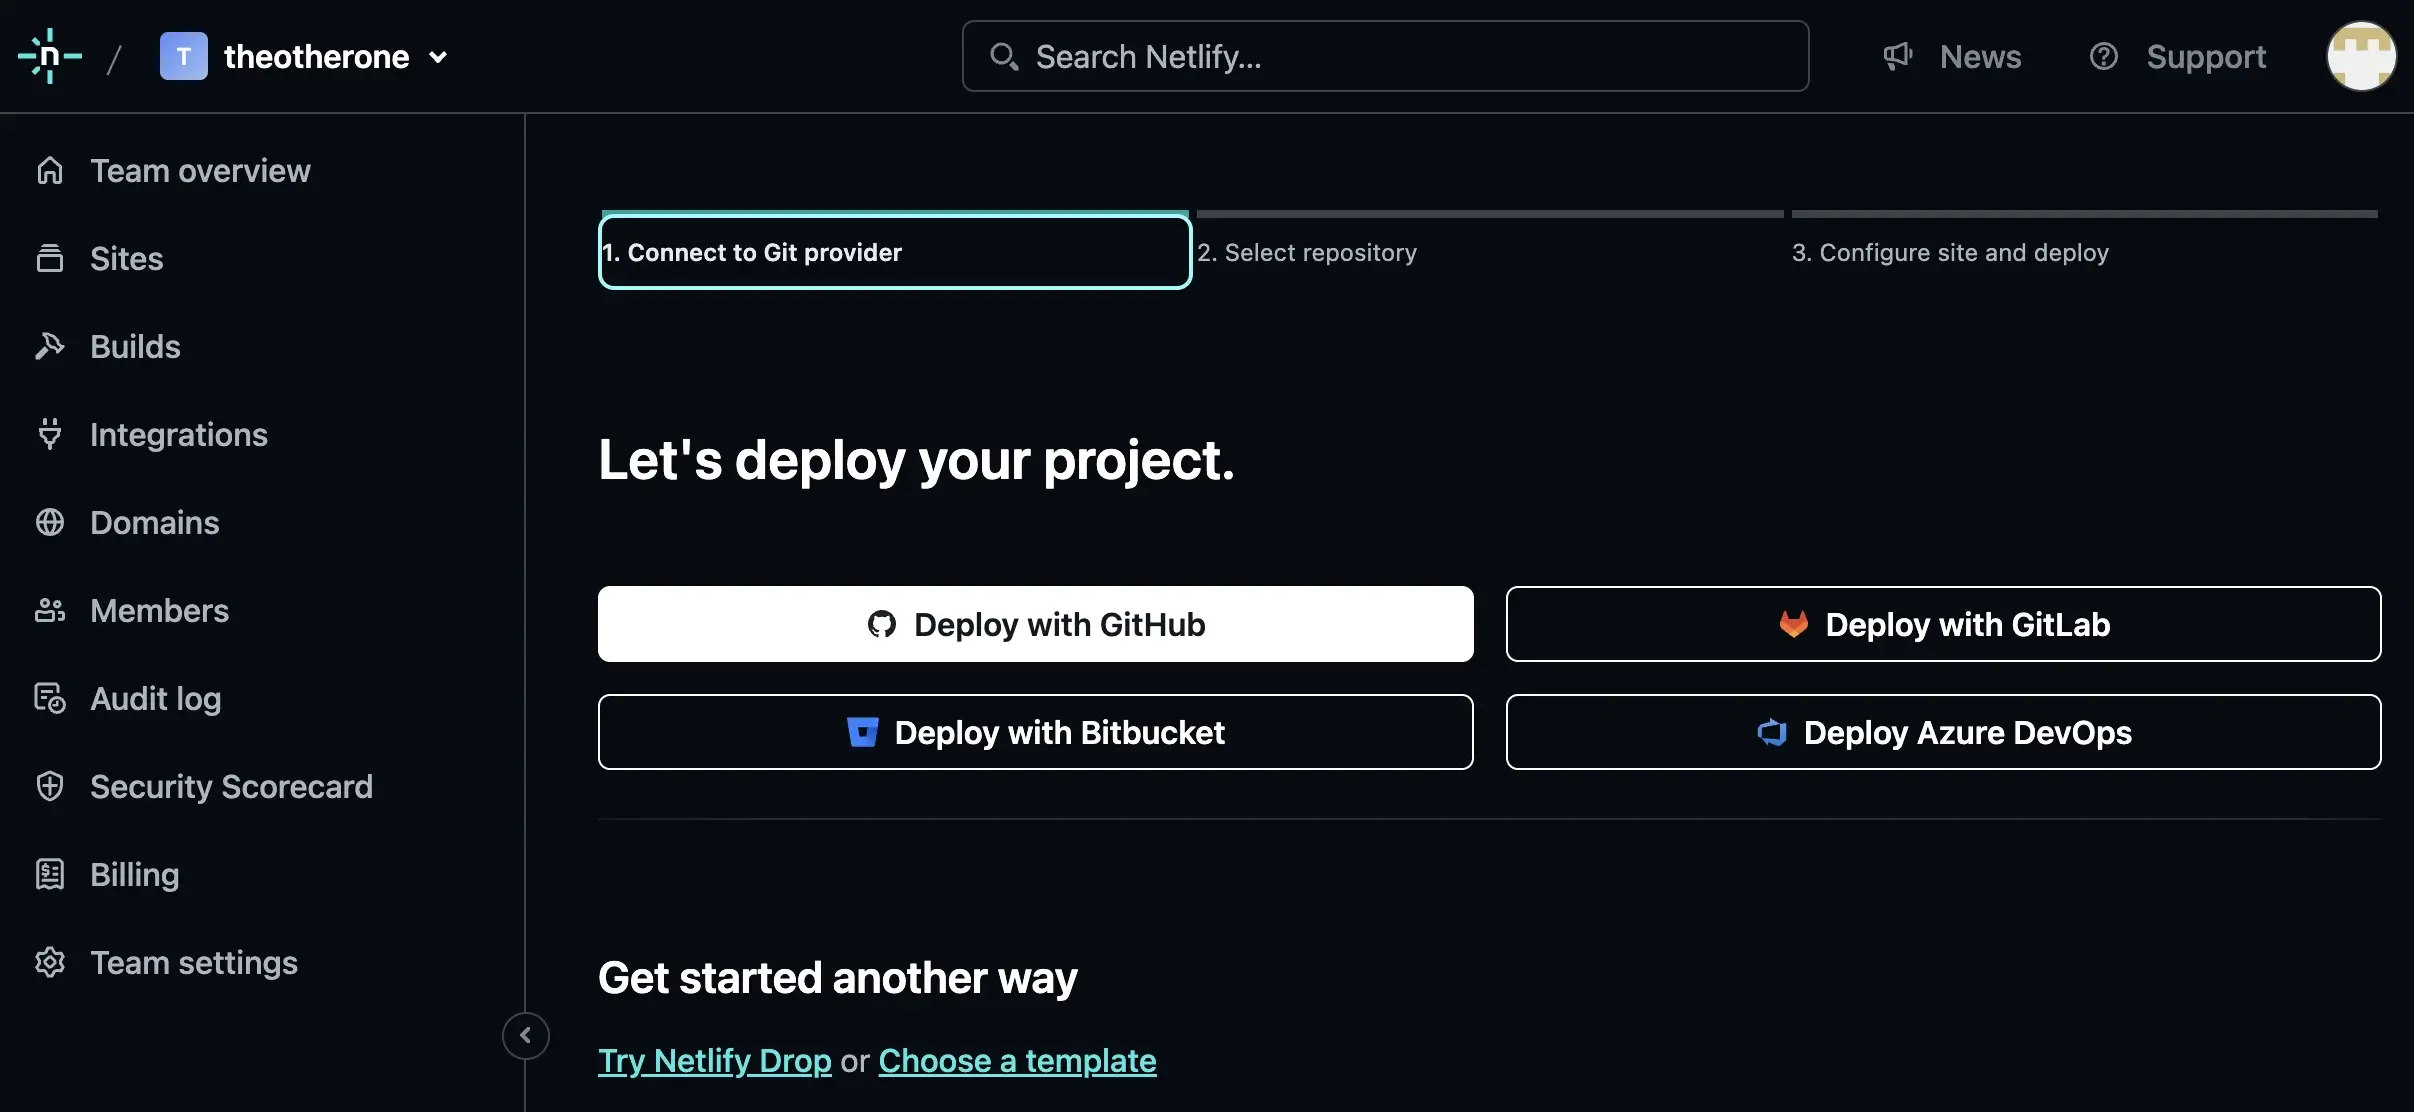
-
Select Deploy with GitHub.
Here will be a list of all the projects that are attached to your Git repository.
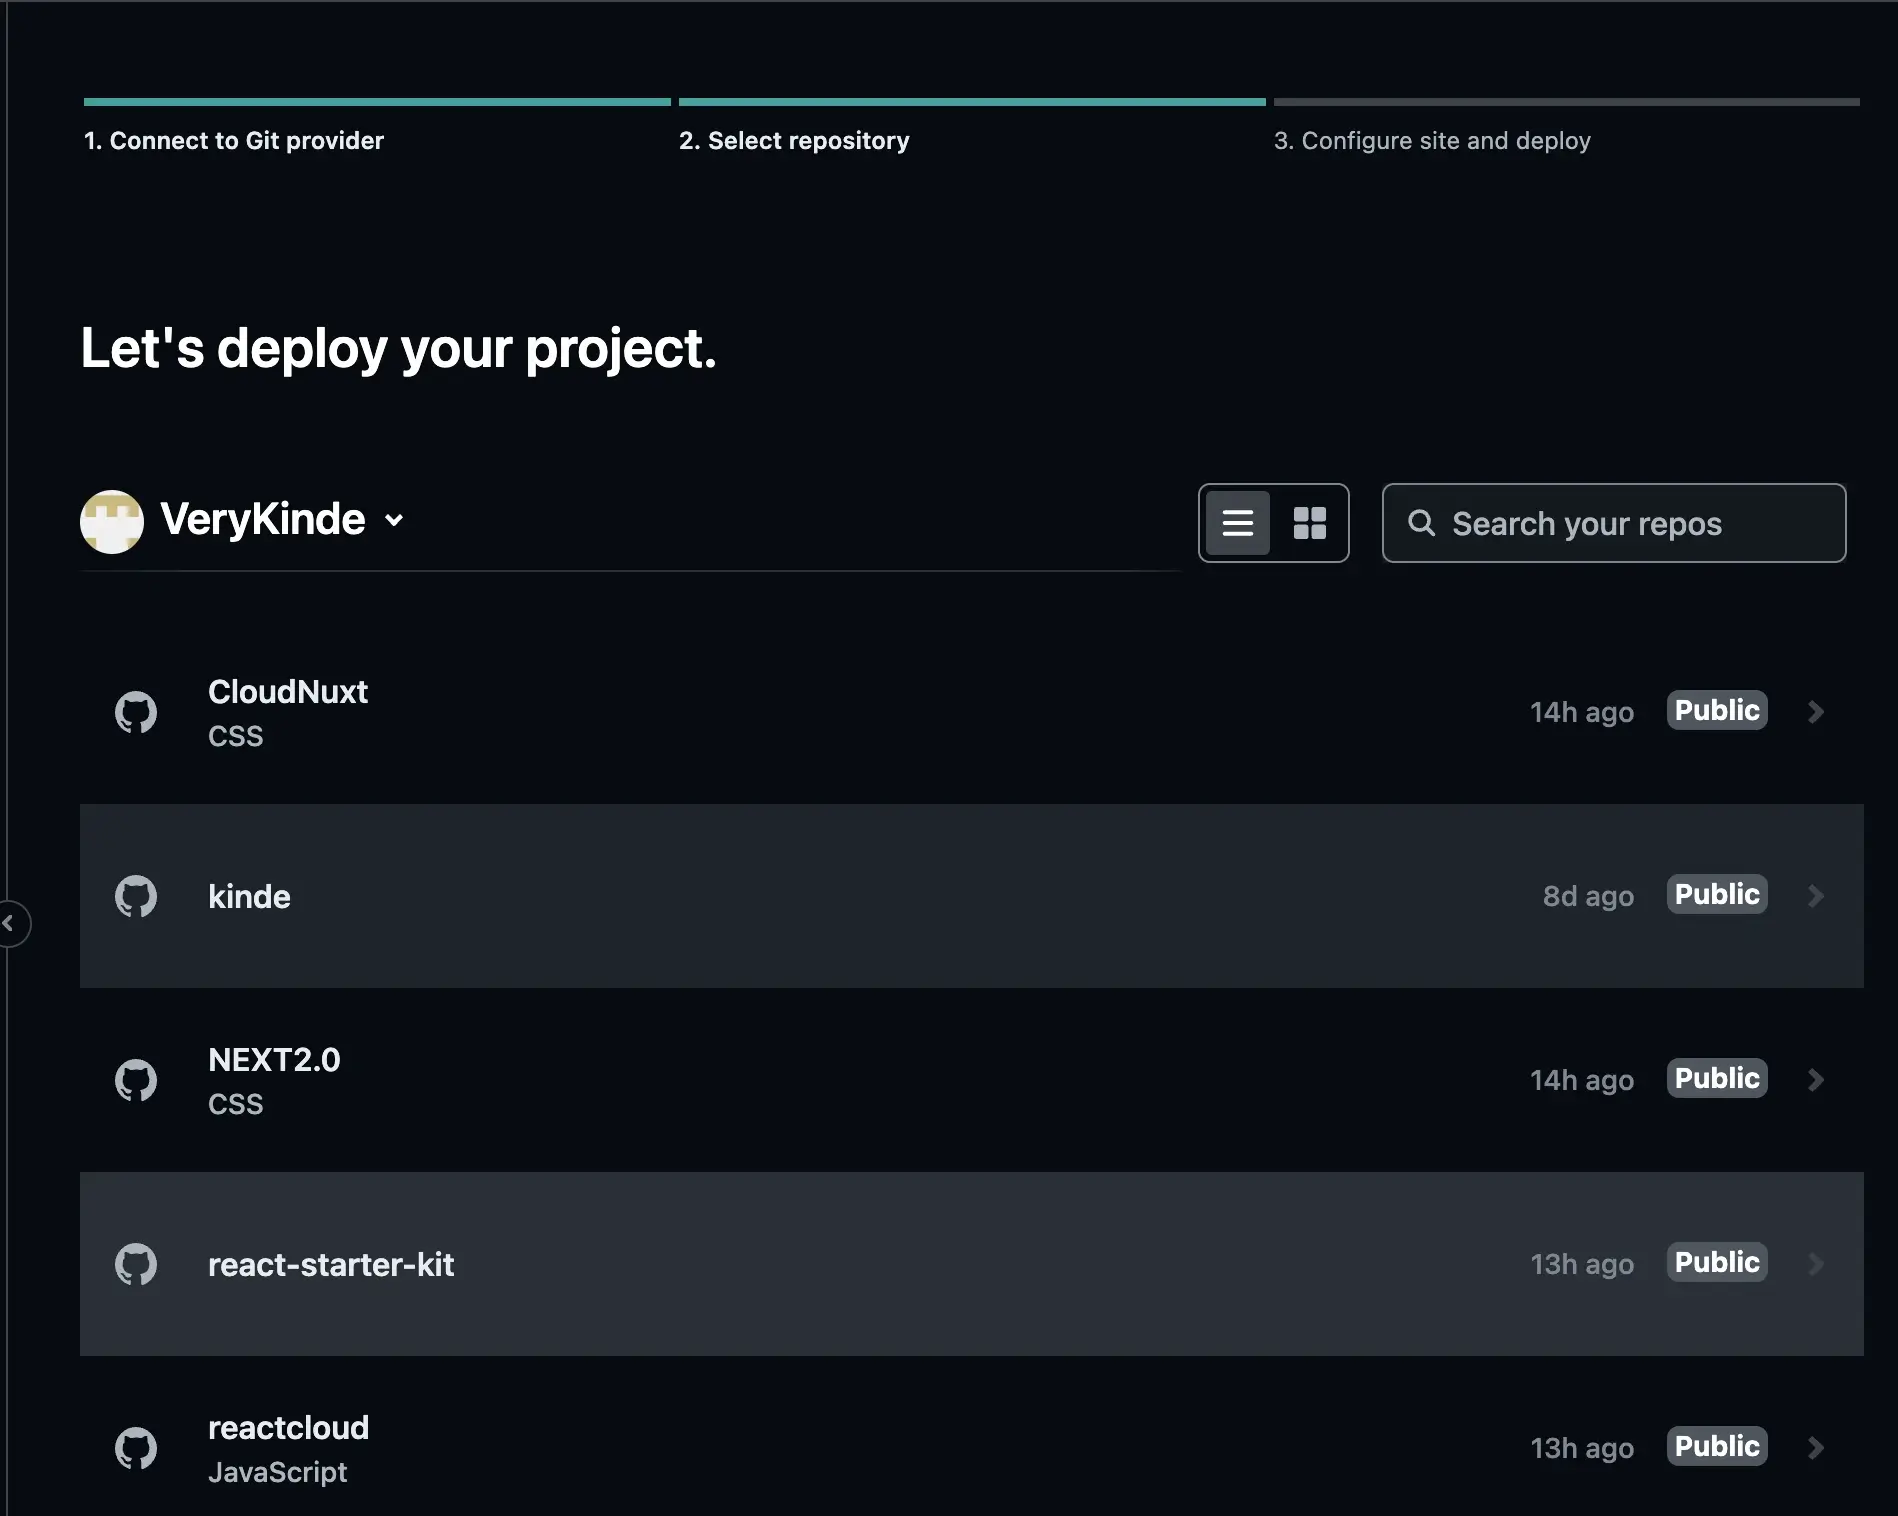
-
Select the row that is related to the project that you want to deploy to Netlify.
If you are using the Next.js starter kit, this would be the name you had assigned from above when we cloned the template. The Configure Project page opens.
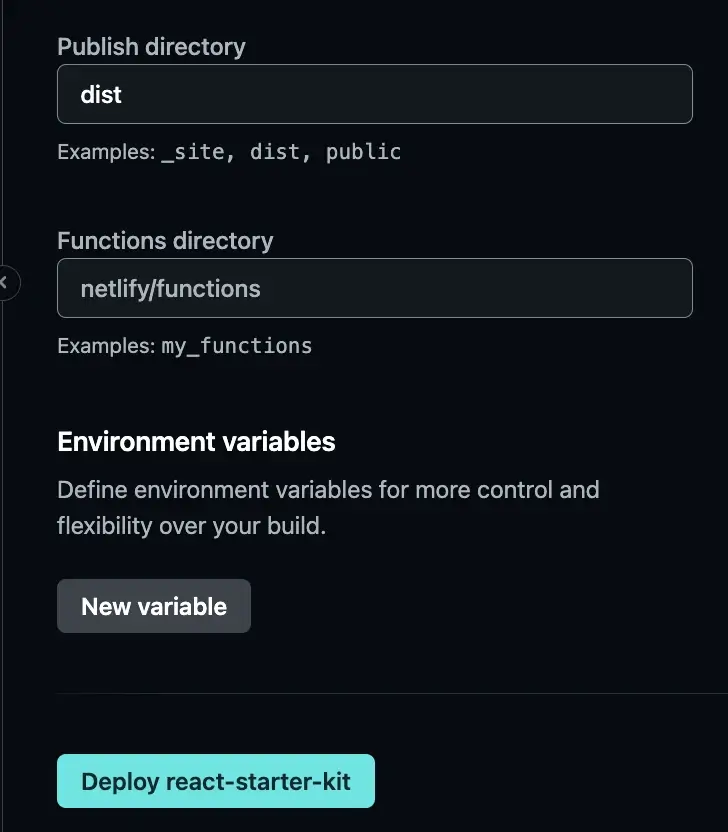
-
Select New Variable under the Environment variables at the bottom of the page.
-
Find your
.envfile. -
Copy the contents of the
.envfile into the variables section.- If you were using the Starter Kit, the contents are located in the
.env.samplefile.
Later, we will need to change the redirects above. This is because we’re running the application off Netlify and not the localhost, so our domains will change.
- If you were using the Starter Kit, the contents are located in the
-
Select Deploy.
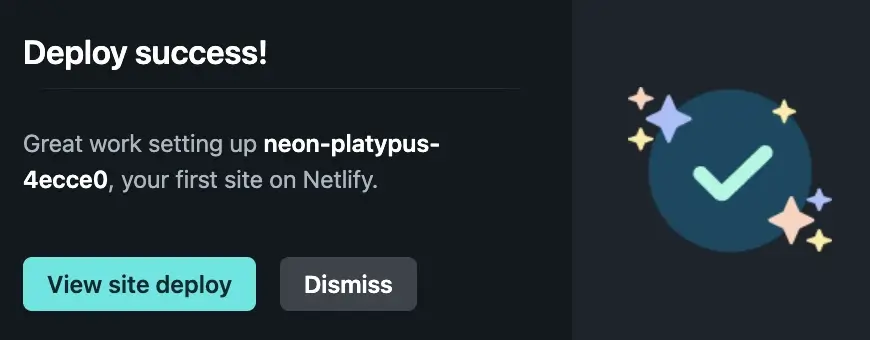
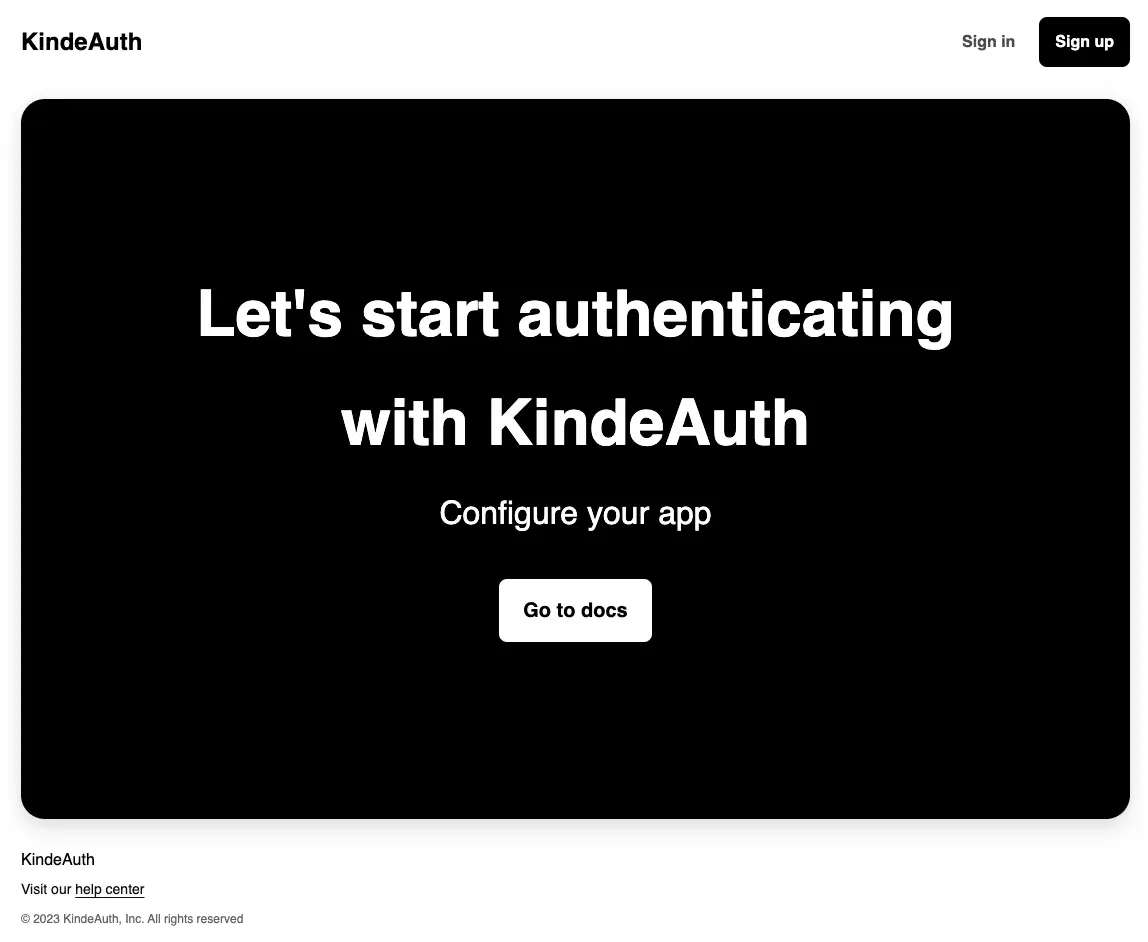
Your application will deploy to live and you can click to visit your site.
You’ll see the URL has changed to a randomly assigned string similar to the above. Let’s change that url to something more suitable.
-
Go to the Overview page.
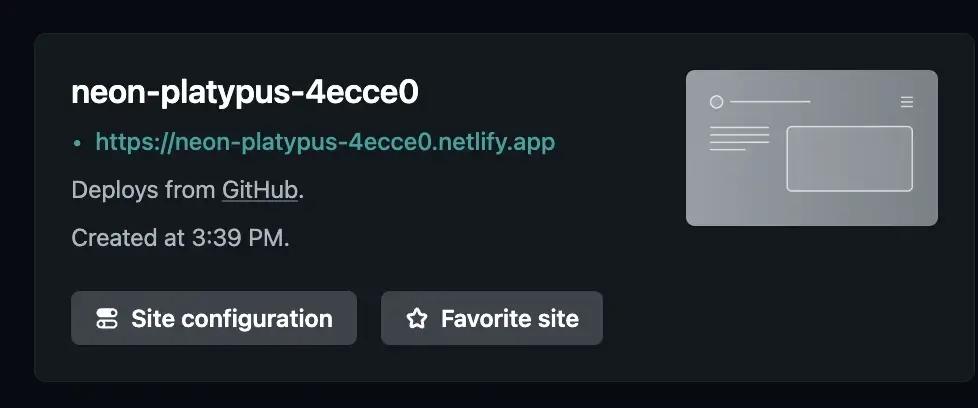
-
Select Site configuration.
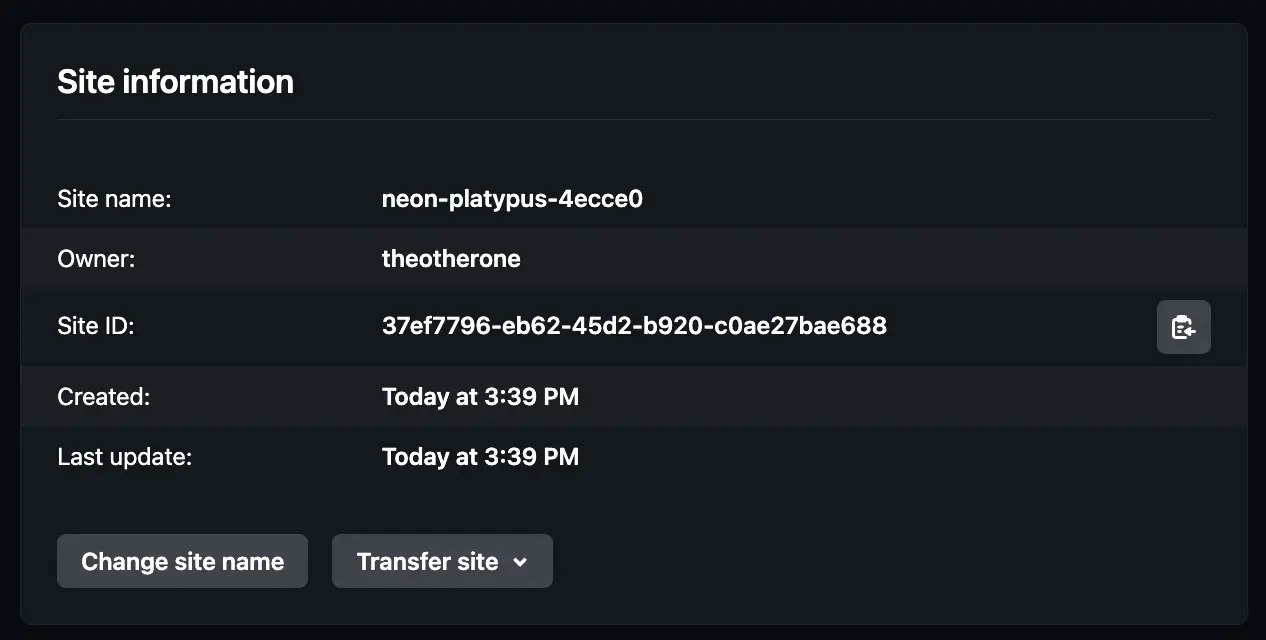
-
Select Change site name.
-
Choose a name that you can easily reference later and take note of it.
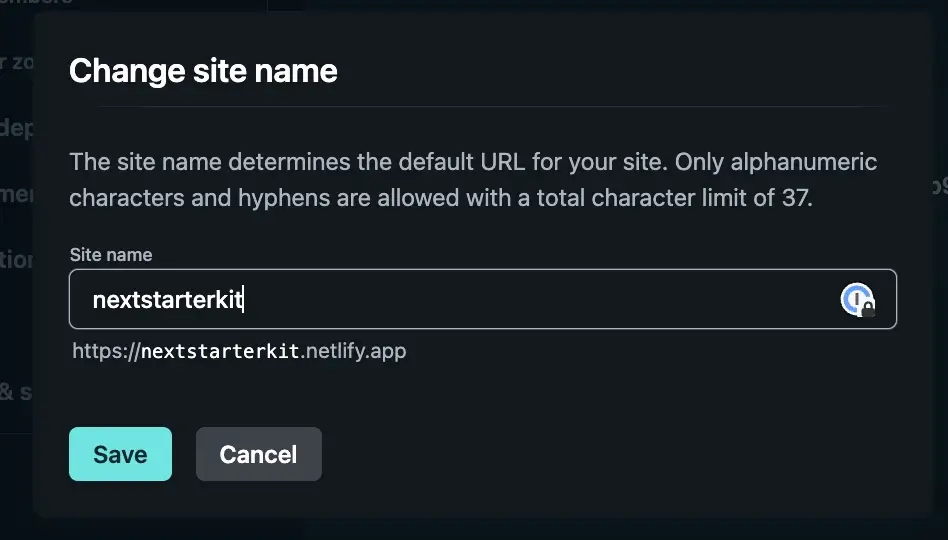
-
Select Save. We can now reference the site with our custom domain.
Next, we need to go back and update the callback URLs that are pointing to localhost:3000, as the authentication process will be broken in our app.
Let’s fix that.
-
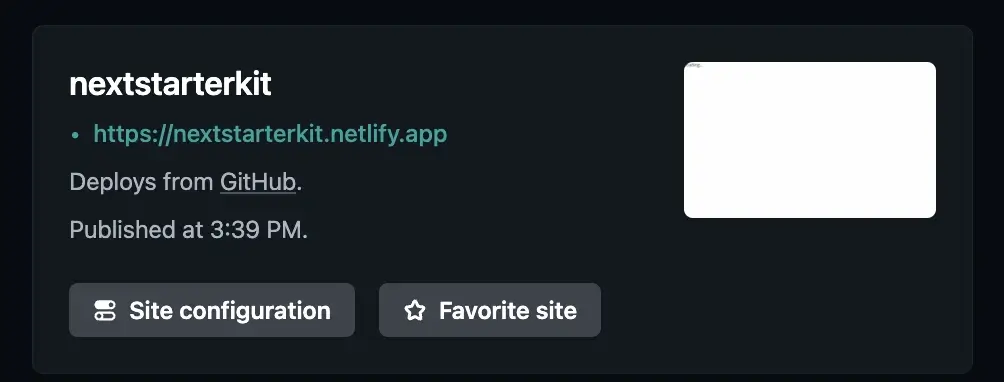
Find the domain that Netlify assigned you. This will be something like
<projectname>.netlify.app. Our test example ishttps://nextstarterkit.netlify.app. -
Sign in to your Kinde account and go to Settings > Applications.

-
If you you haven’t added your application to Kinde yet:
- Select Add application. A dialog window opens.
- Enter a name for the app.
- Select the Back-end web application type. You need to do this if you’re using the Next.js starter kit. Note that front-end apps do not provide a Client secret which we need for this to work.
- Select Save.
-
If you have already created your app, select View details on the relevant application.
-
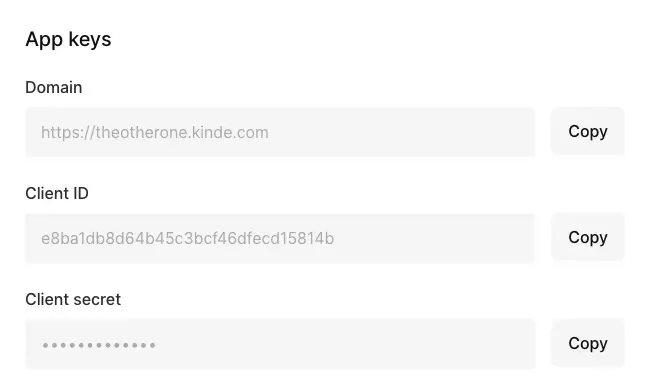
Copy the following information somewhere you can access it again.
-
Domain
-
Client ID
-
Client secret
We need these details to update our Netlify project.
-
-
Scroll down to the Callback URLs section. This is where we enter the Netlify URLs.
For example, if you were using
https://localhost:3000, replace that portion with your newly assigned domain. If you’re using a starter kit, this might be:https://nextstarterkit.netlify.app/dashboard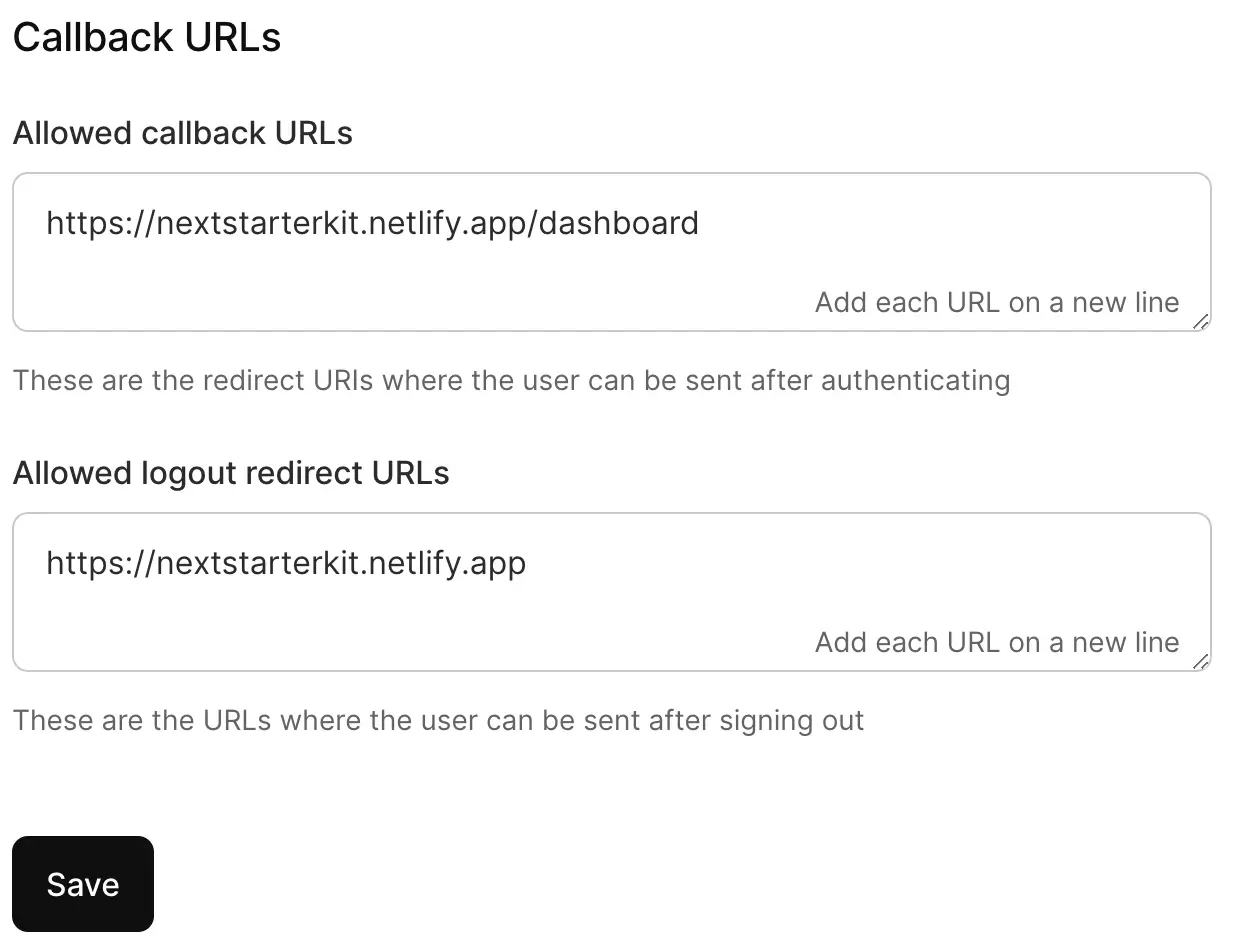
-
Select Save.
- In Netlify, go to the Overview page.
- Select Site configuration.
-
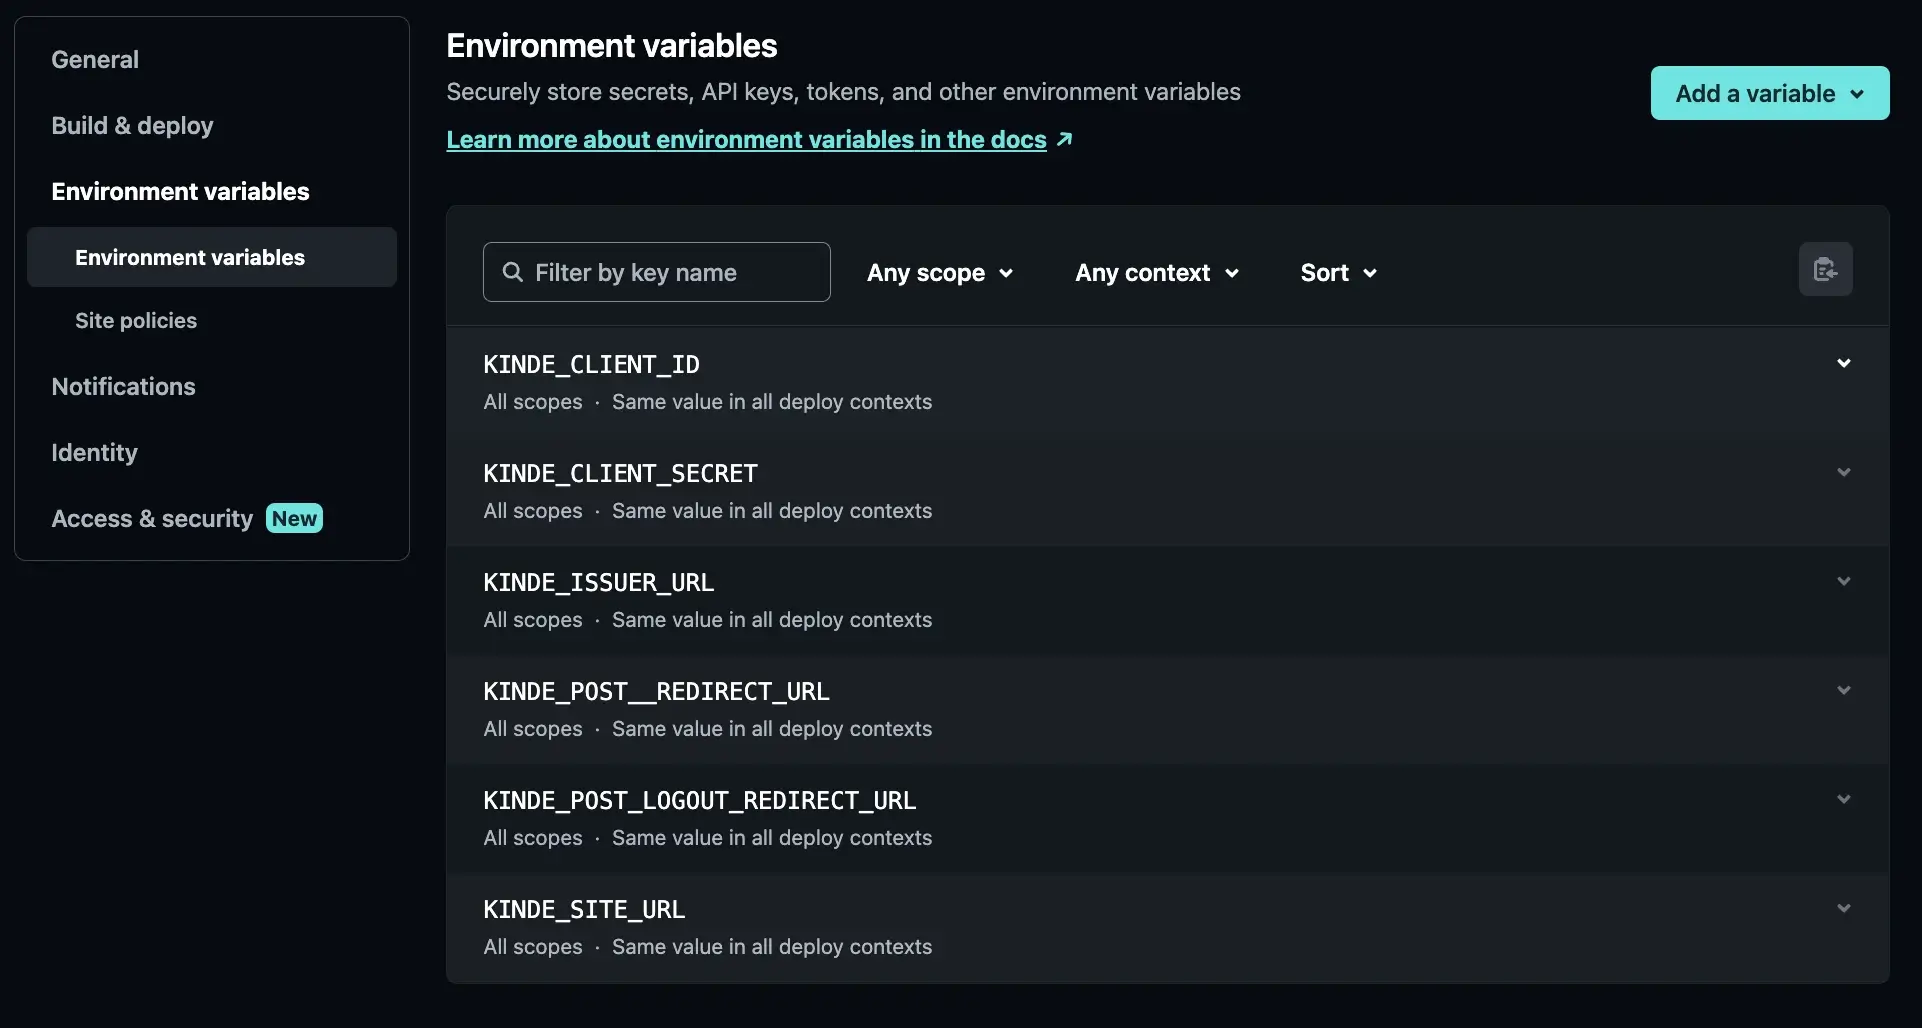
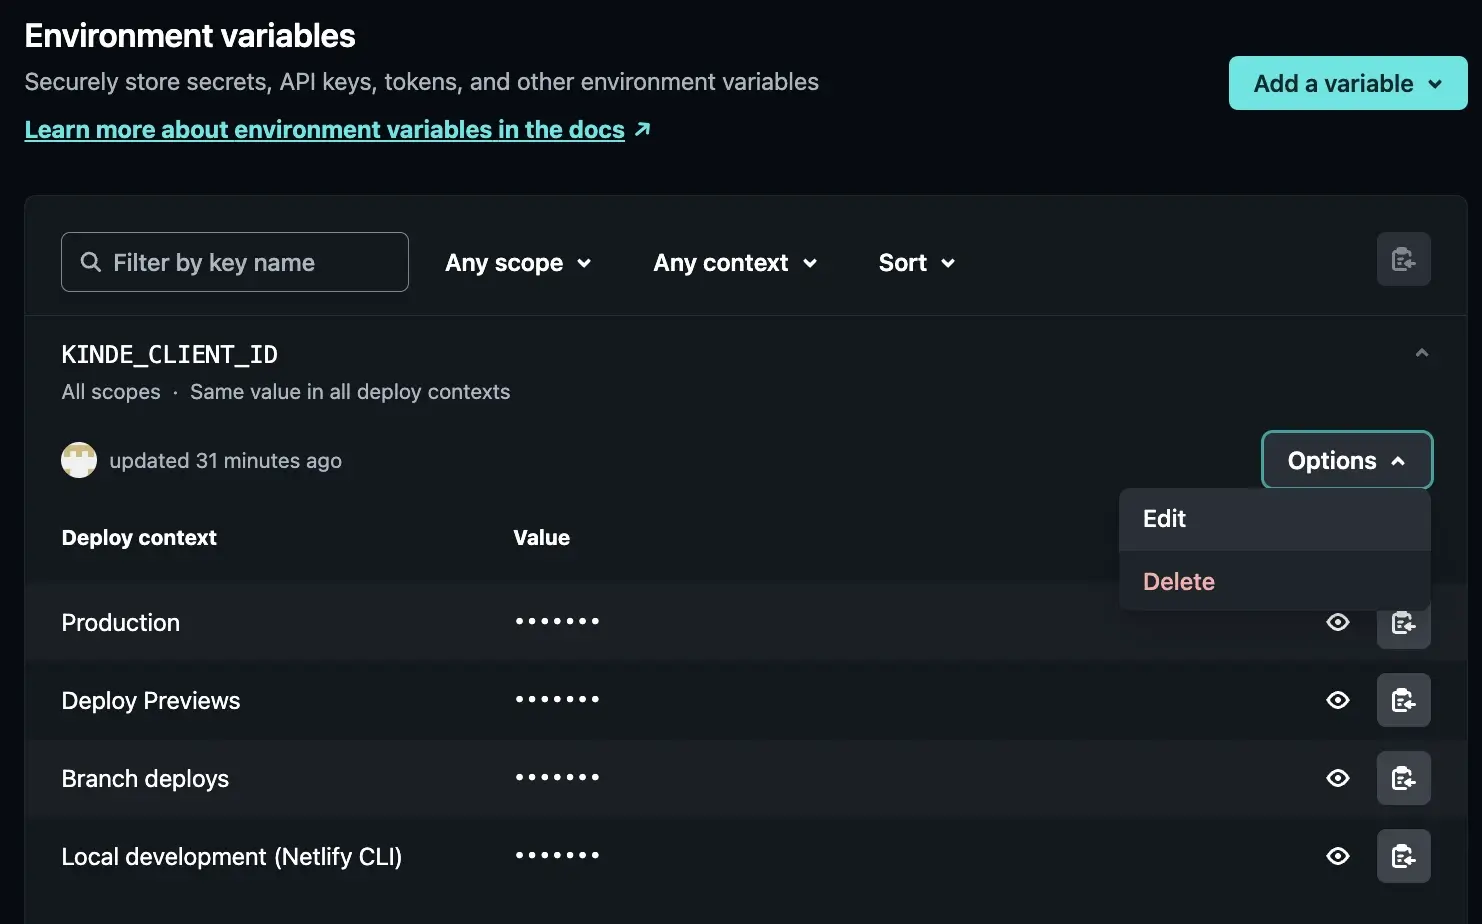
Select Environment variables. You’ll see a screen with all of your Environment variables.
-
Select the ones that you want to edit, then in the options drop down, select edit.
-
Update the following information with the Netlify domain information:
KINDE_CLIENT_IDKINDE_CLIENT_SECRETKINDE_ISSUER_URL(Domain in Kinde)
-
Update the following information with the Netlify domain information:
KINDE_SITE_URLKINDE_POST_LOGOUT_REDIRECT_URLKINDE_POST_LOGIN_REDIRECT_URL
The information is saved automatically.
We will now redeploy our instance with the updated Environment Variables so our live site will become operational again.
-
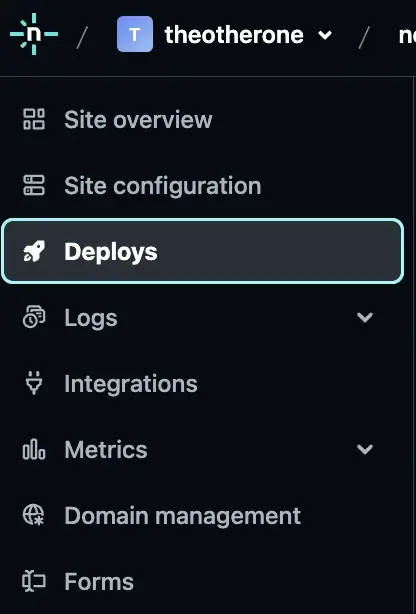
In Netlify, navigate to the Deploys section located in the sidebar.
-
Select the Trigger deploy dropdown and then select Clear cache and deploy site.
⚠️ Do not select
Deploy siteas this will preserve the old environment variables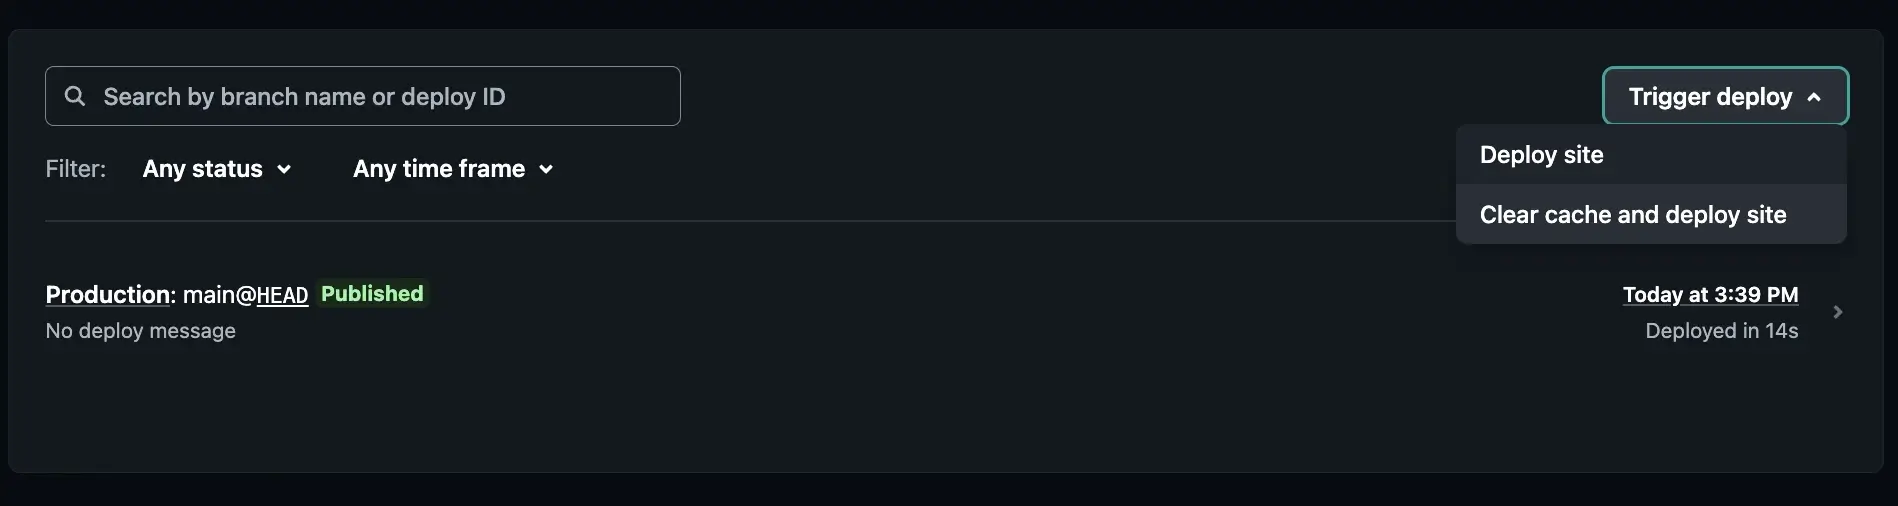
You’re done! Your website should now be fully functional and you can authenticate with Kinde!
Congratulations 🎉
Remember, if you need any assistance with getting Kinde connected reach out support@kinde.com.
You can also join the Kinde community on Slack or the Kinde community on Discord for support and advice from the team and others working with Kinde.